
How to Fix a Broken Chair
This post contains affiliate links. As an Amazon Associate, we earn from qualifying purchases.
To fix a wobbly chair, start by checking for cracks or loose joints—wiggle those legs to identify any issues. If you find something amiss, gently pry apart the joints with a rubber mallet, clean off the old glue, and reassemble using fresh adhesive. If a tenon is broken, drill it out, chisel the mortise, and create a new one. For a polished look, sand the wood and consider updating the fabric. More detailed tips and explanations will follow to help you restore your chair to its former glory!
Essential Facts in 30 Seconds
- Inspect the chair for cracks, loose joints, or damaged upholstery before repairs.
- Carefully disassemble broken parts and label them for easy reassembly.
- Replace broken tenons by drilling out old ones and cutting new ones for a secure fit.
- Use appropriate adhesives for joints; clamp and allow to dry thoroughly.
- Refinish wood and reupholster as needed with suitable materials for a professional finish.
Initial Inspection and Assessment
Before fixing that broken chair, start with a careful inspection. Think of it like a fun detective mission!
First, check the legs, arms, and back. Look for cracks, chips, or scratches. Check the fabric for stains or tears. Spilled ketchup? Let’s make that stain disappear!
Also, examine seams and stitching for loose threads. Inspecting for issues helps you identify any potential repairs needed. It’s essential to determine the extent of the damage to choose the best repair method. If you find a broken leg, remember to use wood glue for effective repairs.
Next, assess the damage. Wiggle the legs to see if they wobble. A wobbly chair needs help! Look underneath for hidden issues, and check the chair’s cleanliness. Conducting a thorough inspection helps you find what needs fixing. This makes you a chair-repair superhero! Grab your tools and let’s make that chair look new again!
Tools and Materials Required
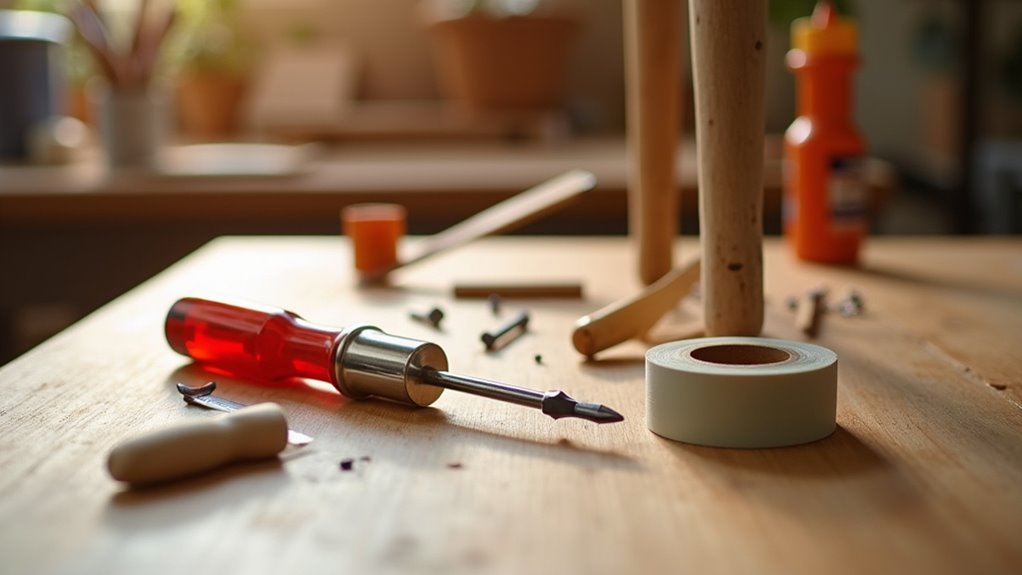
Gather the right tools and materials for fixing that chair. Start with measuring tools. A tape measure and a ruler help you get the right dimensions. A level keeps everything straight. A combination square helps with accurate cuts. Regularly inspecting screws can prevent future issues and tightening loose screws can improve stability.
For cutting, use a handsaw or hacksaw. Chisels are great for shaping wood. Investing in quality tools ensures longevity and makes your repairs easier.
Next, grab fastening tools. A good screwdriver set is essential. A hammer helps drive in nails. Clamps hold everything in place while you work. Wood glue is important for strong joints. It makes your repairs last longer.
Don’t forget sandpaper and finishing materials. They help polish your work and give it a nice look.
Picking the right tools makes all the difference. Choose wisely for the best results. Get started and make that chair look new again—without any ketchup stains!
Repairing Loose or Broken Joints
A chair with loose or broken joints can be fixed easily. Start by checking each joint for damage. Label the parts before you take the chair apart. Use a rubber mallet to gently knock the joints apart without causing damage. It’s important to inspect chair joints for any signs of looseness or damage before proceeding. Cleaning the area is also crucial to ensure a strong adhesive bond. Additionally, assess the joints for any visible damage that may affect the repair process.
Here’s a helpful table for different types of glue:
| Adhesive Type | Best For |
|---|---|
| PVA Glue | Tight-fitting joints |
| Epoxy | Gaps or poor fits |
| Syringe Injection | Splits in wood |
| Hide Glue | Traditional joints |
Clean any old glue off the surfaces. This step helps create a strong bond. As you put the chair back together, align the joints carefully. Proper clamping pressure is essential for effective glue bonding, ensuring a durable repair. Test the fit of the parts before adding glue. Clamp the joints gently to avoid squeezing out too much glue.
Let the chair dry completely before using it again. With these steps, you’ll have a strong, usable chair. Great job on your repair skills!
Fixing Broken Tenons and Structural Supports
Fixing broken tenons and structural supports is easy with the right techniques. Follow this simple guide to repair your chair and make it sturdy again.
- Remove the Old Tenon: Carefully drill out the old tenon. Use a smaller bit to protect the mortise.
- Prep the Mortise: Chisel out any old glue. Smooth the walls to reach fresh wood. This helps the glue stick better.
- Cut New Tenons: Make precise cuts for new tenons. Test the joint alignment for a snug fit.
- Glue and Clamp: Apply glue evenly. Clamp the joints tightly. Wait for it to dry before using the chair.
With these steps, your chair will be strong and ready for use!
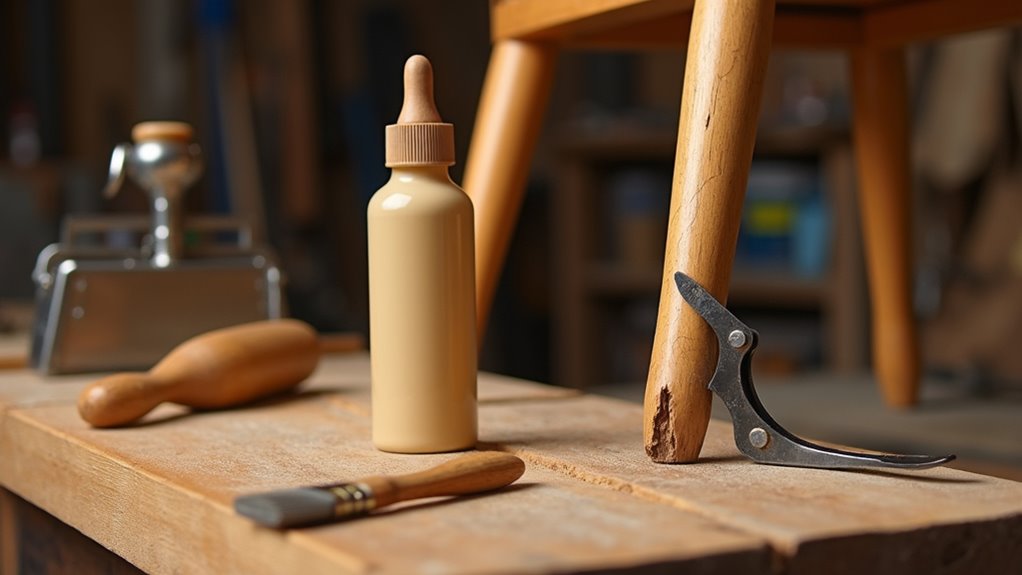
Refinishing and Upholstery Repair
Refinishing and upholstery repair can give your chair a fresh look. Start by checking the wood type and finish. This helps in picking the right refinishing methods. Sand the surface lightly to fix any flaws. For stubborn areas, use chemical strippers. To quickly refresh, gel stains work well without full stripping.
Now, move on to upholstery. Check the fabric for tears or stains. If it’s worn out, remove the old fabric. Save the padding if possible. Reupholstering a chair seat can greatly enhance the overall appearance and comfort of your chair. Be sure to attach new fabric securely to ensure durability and a professional finish. When replacing foam padding, make sure to choose new foam that is slightly larger than the seat for optimal comfort.
Use a staple gun to secure the new fabric. This gives your chair a comfy makeover. Spilled ketchup? Use the right cleaner to make that stain disappear.
With some effort, your chair will look not just fixed, but fabulous!
Frequently Asked Questions
How Long Does Glue Take to Dry Completely?
Glue drying time depends on the type of glue you use. PVA glue usually takes about 30 to 60 minutes to dry. On the other hand, cyanoacrylate glue dries in less than a minute.
Different projects need different glues. Always read the instructions on the glue bottle. This helps you get the best results. Rushing can lead to mistakes. Waiting for the right drying time is important. It ensures a strong bond and prevents problems later on.
Can I Use Super Glue for Chair Repairs?
Super glue works well for chair repairs, especially on wood. It’s fast and easy to use. Different types of super glue work better on different materials. Choose the right one for the best results. Keep in mind, super glue is not strong enough for heavy-use joints. For these, consider stronger options like wood glue or epoxy. Always clean the surfaces before applying the glue. This helps the glue stick better. Allow the glue to dry completely before using the chair again. With the right care, your chair can be sturdy once more!
What Should I Do if My Chair Wobbles After Repair?
A wobbly chair can be frustrating. It is important to fix it for safety. Start by checking the legs. Look for unevenness. Use a level or ruler to see if they match.
Next, inspect the joints. Loose joints cause instability. Tighten screws and bolts to secure them. Wood glue works well for wooden chairs. Apply it to loose joints and let it dry.
For a quick fix, use felt pads or rubber washers. These can help balance uneven legs. Place them under the shorter leg.
Test the chair after making adjustments. Sit down slowly to check for stability. A steady chair makes for a safe and comfortable experience. Don’t ignore a wobbly chair. Fix it to avoid accidents.
Is It Worth Repairing an Old Chair?
Repairing an old chair can be a smart choice. First, think about how much it costs to fix. Consider the chair’s materials too. If the chair is made of strong wood or quality fabric, it might be worth it.
Look at the chair’s value. Does it hold a special place in your heart? If it brings you comfort and joy, spending money to repair it makes sense. A well-made chair can last many years with some care.
Also, think about how it fits in your home. An old chair might have style that new ones lack. It can add character to your space.
In the end, weigh the costs against the benefits. A repaired chair can serve you well for many more years.
How Can I Prevent Future Chair Damage?
To keep your chair in good shape, check it often. Look for loose parts or signs of wear. Fixing small problems now can save you from bigger issues later. Clean your chair regularly to remove dirt and dust. This keeps the materials strong and looking nice.
Use coasters or mats under your chair legs. This protects your floor and prevents scratches. Avoid using your chair for heavy items. This can cause damage over time.
Store your chair in a cool, dry place. Extreme temperatures and moisture can harm it. Take these steps, and your chair will last longer. Enjoy a comfortable and safe workspace for years!
Conclusion
You’ve fixed that broken chair! Take a moment to admire your work. That wobbly seat is now sturdy and ready for use. Picture yourself sitting down with a snack. No more worries about it collapsing. How great is that? Enjoy your creation. Every repair is a small adventure. You’ve improved your DIY skills. Keep up the good work!