
How to Clean a Chair
This post contains affiliate links. As an Amazon Associate, we earn from qualifying purchases.
To clean your chair effectively, start by vacuuming it to remove dust and crumbs, including the cushions. For stains, blot them with a clean cloth and warm, soapy water instead of rubbing. For tougher stains, a mixture of dish soap and water can be helpful. If you have a leather chair, applying a little conditioner afterwards will keep it soft and shiny. More tips for tackling tough spots will follow in the article for those looking for further insights.
Essential Facts in 30 Seconds
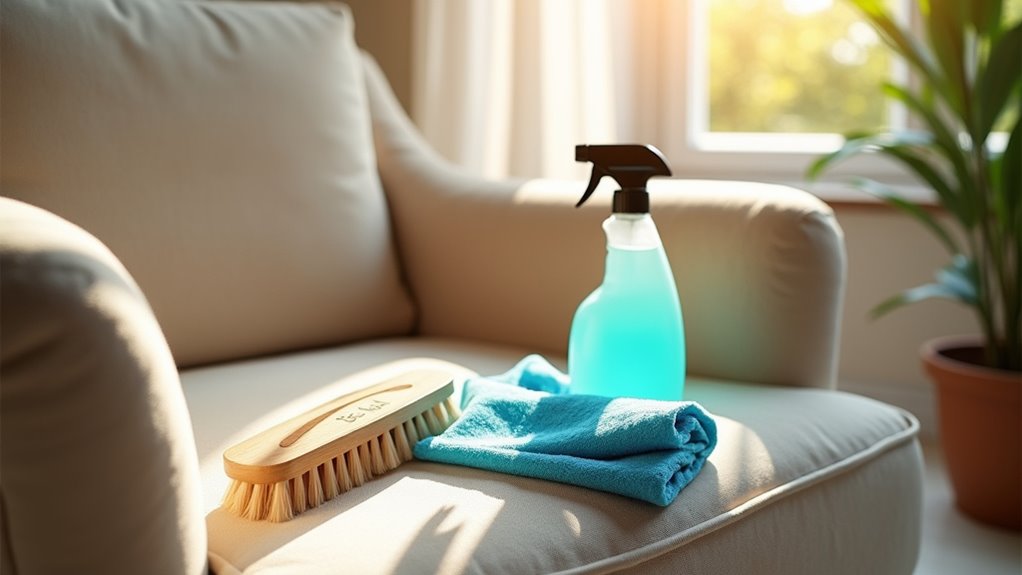
- Gather supplies: upholstery cleaner, microfiber cloths, brushes.
- Vacuum the chair, including cushions and seams, to eliminate dirt and allergens.
- Address stains quickly, using methods suitable for the fabric type, and test solutions in hidden areas.
- Use gentle techniques for water-safe fabrics; follow care labels for other materials.
- Create a maintenance routine with weekly vacuuming and prompt spill cleanup.
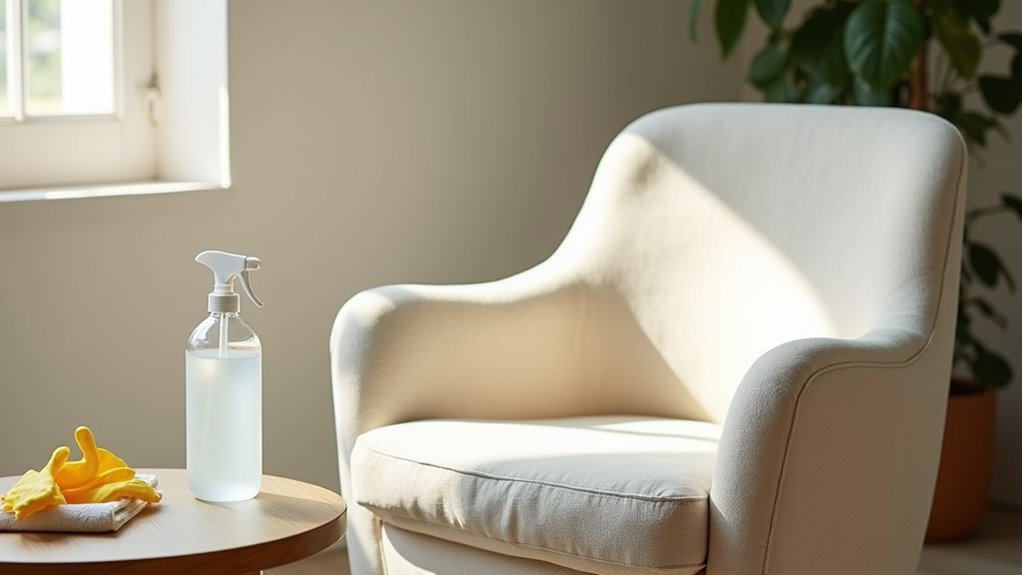
Preparing for Cleaning
Preparing to clean your chair is like getting ready for an adventure. It’s all about making it shine! Start by gathering your supplies. You’ll need the right upholstery cleaner for your chair’s fabric. Check the fabric type first.
Microfiber cloths are great for absorbing dirt. Soft-bristled brushes help loosen grime without hurting your chair. It’s important to understand fabric type to ensure you use the correct cleaning method. Additionally, knowing different materials can guide you in selecting appropriate cleaning supplies. Make sure to check the care label for specific cleaning instructions before you begin.
Next, check your chair for any damage. Look for loose seams or tough stains. These spots might need extra care. Remember to schedule regular cleanings to maintain your chair’s appearance and prevent stains from setting.
Move your chair to a bright and airy area. Clear out any items around it to avoid accidents. Choose a good time to clean so your chair has enough time to dry afterward.
Get ready to make those stains disappear and give your chair the love it deserves!
Vacuuming and Dust Removal
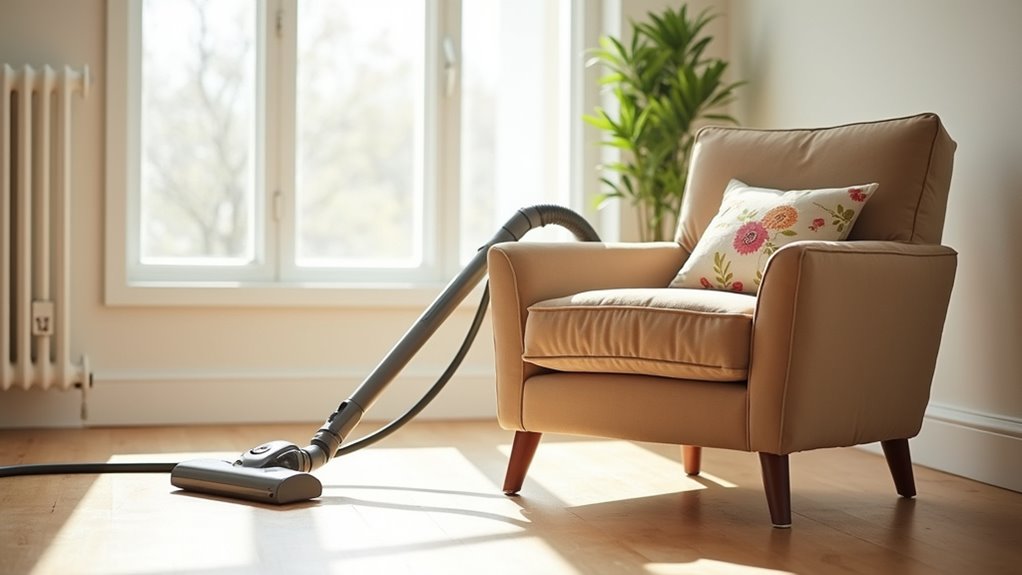
Start by cleaning your chair. Dust and crumbs hide in corners. Grab your vacuum with the upholstery attachment. This tool helps remove dirt without hurting the fabric. For leather, use a soft brush. Your chair will look great! Regular vacuuming helps maintain the chair’s cleanliness and longevity. Regular vacuuming also reduces allergens, creating a more hygienic environment in your workspace. Additionally, using a vacuum with a HEPA filter can significantly improve air quality by capturing dust and allergens.
Vacuum from the top down. This way, dust won’t fall on clean areas. Take off cushions and clean both sides. Tilt the chair to reach the underside. Use crevice tools to get into tight seams. Regular vacuuming maintains cleanliness and prolongs chair life.
A vacuum with a HEPA filter is best for allergy sufferers. It captures dust and allergens, keeping your air fresh, providing a healthier living environment.
Stain Treatment Techniques
Let’s tackle those pesky stains! First, check if your chair’s fabric is water-safe. This helps you pick the best cleaning method.
Got an oily stain? No problem! We’ve great tips to make that stain vanish quickly. Use a clean cloth to blot the stain. Avoid rubbing; it can spread the stain. You should also consider using a suitable cleaning solution to effectively treat various types of stains. For effective cleaning, always test any cleaning solution on an inconspicuous area first to ensure it won’t damage the fabric. Remember to remove loose debris before cleaning to prevent dirt from being ground into the fabric.
For oily stains, sprinkle baking soda on it. Let it sit for 15 minutes to absorb the oil. Then, vacuum it up. Different upholstery materials require distinct cleaning approaches, so knowing your chair’s fabric will help ensure effective cleaning.
For tough stains, a mix of dish soap and warm water works well. Apply it gently with a cloth. Rinse with clean water and dry.
With these steps, your chair will look fresh again!
Water-Safe Fabric Solutions
Cleaning water-safe fabrics can be fun. It gives your chair a fresh look!
Follow these simple steps to keep those fabrics shining.
Blot spills right away. Use a cloth soaked in mild soap and warm water.
For stains, take a damp sponge. Gently wipe without rubbing. Regular vacuuming cushions helps prevent dirt buildup. This process is essential for removing loose debris, making the cleaning more effective.
After spot cleaning, rinse the area. Use clean, cold water.
Got tough stains? Apply water-based upholstery shampoo. Use it sparingly.
To ensure the best results, check the care tag for specific cleaning instructions before starting.
These steps will help your water-safe fabrics look their best!
Solvent-Based Fabric Methods
Tackling stains on solvent-clean-only fabrics requires some knowledge. Start by using the right solvent for your fabric. Options include Guardsman Dry Cleaning Fluid or Sunbrella Extract™.
Always test a small area first. This checks if the fabric will be safe from damage. No one wants to ruin their fabric with color changes!
Apply the solvent gently using a clean cloth. Blot the stain and work from the outside in. Let the area dry completely to prevent dirt from sticking.
Remember to protect yourself! Wear gloves and work in a place with good air flow.
Got a tough stain? Don’t hesitate to call the professionals. Spilled ketchup? Let’s make that stain disappear like magic! You can handle this!
Oily Stain Removal Tips
Got an oily stain on your favorite chair? No worries! Follow these tips to remove that grease:
- Blot first. Use a clean cloth to soak up as much oil as you can. Don’t rub it! Rubbing spreads the oil.
- Absorb it. Sprinkle baking soda or cornstarch on the stain. Let it sit for 10-15 minutes to soak up the grease. This method is effective because it helps to prevent dirt from settling deeper into the fabric. Additionally, regular cleaning can help minimize the occurrence of such stains.
- Homemade magic. Make a paste with baking soda and dish soap. Apply it to the stain and let it sit for 30 minutes.
- Wash smart. After it dries, wash according to your chair’s care label. This helps prevent leftover stains. Remember that immediate spill treatment is crucial for stain prevention.
These simple steps can save your chair!
Deep Cleaning Approaches
Deep cleaning your chair is an important task. First, know the materials your chair is made of. Fabric, leather, and mesh need different cleaning methods. Gather your tools: a vacuum, microfiber towels, dish soap, and a soft brush. Regular vacuuming to remove loose dirt and debris is essential.
Start by vacuuming to remove dirt and dust. For tough spots, use a gentle cleaner and scrub lightly. Treat it like a spa day for your chair! For leather chairs, remember to apply leather conditioner to keep the leather soft after cleaning, as regular upkeep can prevent dirt buildup and maintain conditioning.
For fabric chairs, use upholstery cleaner on stains. Always test the cleaner in a hidden spot first.
Deep cleaning makes your chair look good and helps it last longer. Get ready to make those stains disappear!
Dry Cleaning and Solvent Use
Dry cleaning your chair can make it look new again. First, check the fabric code on your chair’s tag. Codes like “S” or “WS” mean you can use solvent cleaners.
Apply the cleaner gently. Use a cloth to dab at the stains. Rubbing too hard can make things worse.
Remember to test the cleaner on a small area first. This shows if it’s safe for your chair. Different fabrics react differently.
Using a gentle touch helps protect the material. Keep your chair looking great with regular care.
Fabric Code Identification
To clean your chair’s fabric, first check the fabric care label. This label has important cleaning codes.
Here’s what they mean:
- W: Use water-based cleaning. Mild detergents and distilled water work well.
- S: Only use solvent-based cleaning. Keep water away from your fabric.
- WS: You can use both water and solvents. Choices are good!
- X: Professional cleaning is a must. Don’t try to clean this at home.
Understanding these codes helps you pick the right cleaning method. This keeps your chair looking fresh and clean.
Regular cleaning stops stains from settling in. Got a ketchup stain? Don’t worry! Let’s handle that stain with ease and confidence.
Solvent Application Techniques
Tackling stains on your chair is easier with the right solvent. Choose a solvent made for upholstery. Avoid water to protect your fabric. Always test it on a hidden area first. No one wants a surprise color change!
Dab the stain gently with a soft cotton cloth. Use circular motions for the best results. For stubborn stains, try a mix of ammonia and water. Be careful not to use too much. Change to a clean part of the cloth often. This helps keep dirt from coming back. If dealing with ink stains, quick action and the correct methods can lift the stain effectively.
After cleaning, let your chair air dry in a well-ventilated area.
Got ketchup on your chair? Don’t worry! With the right steps, that stain can vanish. You’ve got this!
Ventilation and Safety Measures
Good ventilation is key for safe chair cleaning. It helps control harmful vapors from solvents.
Follow these safety measures:
- Open windows or doors to bring in fresh air every 5 to 10 minutes.
- Use local exhaust ventilation (LEV) to capture fumes right where they happen.
- Place exhaust fans high up for better airflow and vapor capture.
- Always run your ventilation system while using solvents. This keeps the air clean.
By following these tips, you ensure a safe cleaning session. A little preparation makes a big difference.
Let’s tackle those stains with confidence!
Post-Cleaning Care and Maintenance
After cleaning your chair, keep it looking great! Start a maintenance schedule. Think of it as a workout for your chair.
Vacuum your upholstered chair each week. This helps remove dust. Wipe hard surfaces daily for a quick clean.
Spilled ketchup? Act fast! Blot it right away with a clean cloth and warm water.
Check your chair every few months. Look for loose screws or wobbly legs. Tighten any loose parts to keep your chair stable and safe.
If your chair is leather, condition it every 6 to 12 months. This helps prevent cracks. Regularly cleaning your chair ensures it remains in excellent condition and free from allergens.
Regular care makes your chair last longer and look good. It saves you money on repairs later. Keep up the good work!
Frequently Asked Questions
How Often Should I Clean My Chair?
To keep your chair clean, set a maintenance routine. Vacuum it every 1 to 2 weeks. Deep clean it twice a year. Adjust cleaning frequency based on how much you use the chair. Consider the fabric type too. If you have pets or kids, clean more often. Regular care helps your chair last longer and look better.
Can I Use Bleach on Upholstery?
Using bleach on upholstery can ruin it. Many fabrics cannot handle bleach. It can cause discoloration and damage. Instead, look for safer cleaning options. Consider using vinegar or baking soda. These can clean without harming the fabric. Always test any cleaner on a small area first. This way, you can see how the fabric reacts. Protect your furniture and keep it looking great.
What Tools Are Best for Cleaning Fabric Chairs?
To clean fabric chairs, use portable upholstery cleaners. Vacuum attachments help remove dust and dirt easily. Use mild detergents for fabric cleaning. These solutions are safe and effective.
Protect your furniture while cleaning. Follow maintenance tips for best results. Regular cleaning keeps your chairs looking fresh. A clean chair makes your space feel welcoming. With the right tools, you can achieve great results. Enjoy your clean and comfy chairs!
How Do I Remove Pet Hair From Upholstery?
Cleaning pet hair from upholstery can be easy. Use a vacuum cleaner with a brush attachment. It picks up fur quickly. A lint roller is another great tool. Just roll it over the fabric. The sticky sheets grab hair fast.
Rubber gloves work well, too. Put on a pair and rub your hands over the fabric. The hair clings to the gloves. A damp sponge can help as well. Lightly wipe the surface to collect the hair.
Regular cleaning keeps pet hair under control. Vacuum often to prevent buildup. Your furniture will look fresh and clean. Enjoy your pet without the mess!
Is It Safe to Use Essential Oils for Cleaning?
Using essential oils for cleaning is safe and effective. These oils have natural antimicrobial properties. They can help kill germs and freshen up your home. Always dilute essential oils before using them. This keeps them safe for all surfaces. It’s smart to test a small area first. This way, you can avoid any damage. Many people love using oils like tea tree or lavender. They smell great and clean well too. Cleaning with essential oils is a natural choice for a healthy home.
Conclusion
Cleaning your chair is easy and fun. With some effort, your chair can look amazing. Think of all the snacks you’ve enjoyed while sitting there. Those crumbs won’t stand a chance against your cleaning skills!
Start by gathering your supplies. You’ll need a vacuum, a cloth, and some mild cleaner. Remove any loose items from the chair. Then, use the vacuum to get rid of crumbs and dust. Pay special attention to crevices and under the cushions.
Next, dampen your cloth with the cleaner. Wipe down all surfaces. Be gentle on any delicate areas. Make sure to clean the legs and base too. A clean chair feels better and looks great.
Let the chair dry completely before using it again. A fresh chair is a happy chair. You’ll be proud to show it off. Make your chair sparkle! It deserves it!