
How to Add Armrests to a Chair
This post contains affiliate links. As an Amazon Associate, we earn from qualifying purchases.
To successfully add armrests to your chair, start by gathering essential tools such as a screwdriver and comfortable armrest pads. Clear the chair surface to remove any old armrests, then measure and mark where the new ones will be positioned. Align the brackets and hand-tighten the bolts without excessive force. Adjust the height and width so your elbows rest at a 90-degree angle, and check for stability throughout the process. For those interested in more detailed instructions and tips, further explanation will follow in the article.
Essential Facts in 30 Seconds
- Clear the chair’s surface and inspect for damage before adding armrests.
- Measure the correct height for armrests prior to installation.
- Align armrest brackets with pre-drilled holes and hand-tighten bolts to avoid cross-threading.
- Adjust armrest height, width, and depth for comfort and proper positioning.
- Regularly check and tighten screws to maintain stability and prevent wobbling.
- Lubricate joints if armrests are stuck and replace worn padding for improved comfort.
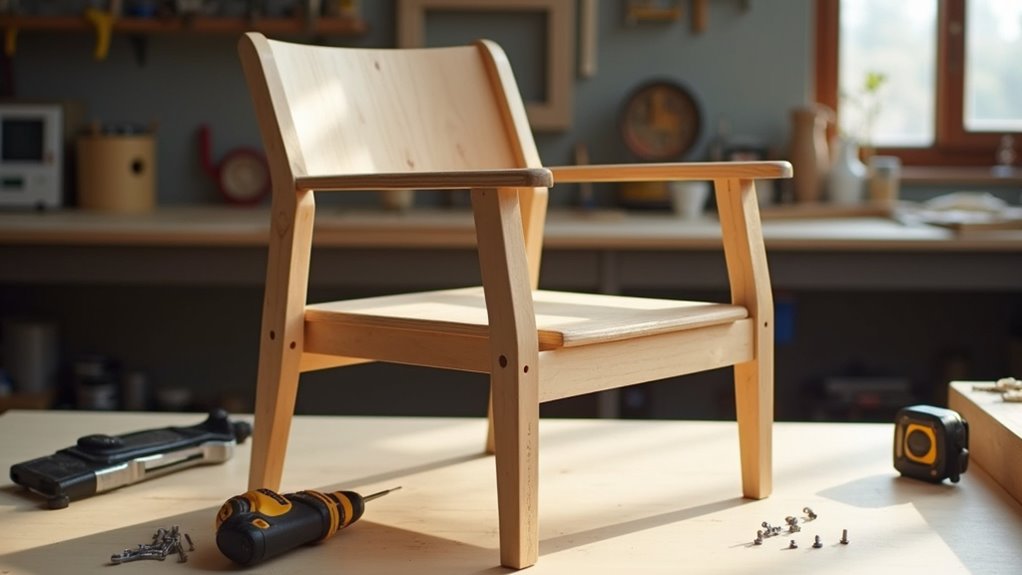
Tools and Materials Needed for Adding Armrests
Let’s dive into the tools and materials you need to add armrests to your chair.
First, gather a screwdriver and an Allen wrench. These tools help you tighten screws and bolts. No one wants wobbly armrests! A rubber mallet is useful for tapping parts into place. A tape measure ensures everything lines up correctly. Additionally, ensure that you have basic tools on hand to facilitate a smooth assembly process. It’s important to have the right tools for any adjustments you might need to make during the process.
For materials, choose wood or metal for the armrests. Armrest pads add comfort. Don’t forget screws, bolts, and glue to keep everything secure.
Want a fancy touch? Consider ergonomic pads and stylish armrest covers.
Safety is key. Wear protective gloves and safety glasses. You’re about to make your chair the best spot in the house!
Preparing the Chair for Armrest Installation
Preparing your chair for armrest installation is key for a successful upgrade. Follow these easy steps to get your chair ready for those cool armrests!
- Clear the Surface: Take off any old armrests. Clean any dust or dirt.
- Inspect for Damage: Look for weak spots or old screw holes on the chair frame. It needs to be strong, as structural integrity is crucial for supporting the armrests. Additionally, check for any signs of wear and tear that could affect the chair’s stability. It’s important to assess chair leg damage to ensure that the armrests won’t exacerbate any existing issues.
- Measure & Mark: Use a tape measure to find the right height for your armrests. Mark the same spots on both sides of the chair. Ensure precise alignment for proper fit during installation.
- Smooth Out: Sand any rough areas where the armrests will attach. This helps them stick better.
With these steps done, your chair is ready for armrests. Great job getting this part finished!
Now, let’s move on to mounting those armrests!
Mounting the Armrests Onto the Chair
Let’s get those armrests mounted on your chair! First, gather your tools. You’ll need 1/2” and 3/8” wrenches.
Clear your workspace for easy access to the chair’s underside. Find the pre-drilled holes for the armrest brackets. They’re usually easy to spot. Align the brackets carefully. Proper alignment is important for comfort and support. Remember to install the armrest plate first, as it is crucial for the overall stability of the armrests. Ensuring overall stability is vital to prevent any wobbling once the armrests are attached.
Next, hand-tighten the bolts. This helps prevent cross-threading. No one wants that hassle! As you tighten, switch between bolts for even pressure. Check the alignment after each twist.
Once everything is secure, test the armrests. Make sure they’re sturdy and ready to use.
Your chair just got an upgrade! Great job on completing this task!
Adjusting and Securing Armrests
Adjusting your armrests makes your chair more comfortable. Here are some easy steps to get it right.
- Height: Use the lever or push-button. Raise or lower the armrests. Your elbows should be at about 90 degrees.
- Width: Slide the arm pads left or right if your chair allows it. If not, unscrew some bolts to adjust.
- Depth: Move the armrests closer or further from your desk. Find what feels best for you.
- Secure: Always tighten knobs, levers, or bolts after making adjustments. This keeps everything stable.
Loose armrests can cause discomfort. Check them regularly for a snug fit.
Enjoy sitting in your chair with confidence! You’ve made a great choice to improve your comfort.
Troubleshooting Common Installation Issues
Sometimes, new armrests may not fit perfectly. That’s okay! You can fix common installation issues to make sure your armrests are stable.
First, check the screws. If they’re loose, tighten them. Wobbly armrests aren’t safe. Next, look at the hinges. If they don’t line up, fix them or replace them. A common cause of instability is wear and tear on the chair’s components, so it’s important to inspect them closely. Regular maintenance can prevent issues like sinking chairs from occurring.
If the armrests feel stuck, add some lubricant to the joints. This helps them move smoothly. Worn-out padding can affect comfort too. Replacing it can make a big difference. Additionally, ensure that all connections are secure to maintain optimal stability.
After making adjustments, test the movement. This helps you find problems early. Using good materials and proper techniques also prevents future issues. You can do this! Soon, you’ll be relaxing comfortably.
Frequently Asked Questions
Can I Add Armrests to Any Type of Chair?
Not all chairs can have armrests added. Some chairs are not strong enough for this change. Check the chair’s stability before thinking about armrests. The material of the armrests also matters. Make sure they can attach well to the chair. This ensures comfort and safety while using the chair. Choose the right chair if you want armrests.
How Long Does the Installation Process Take?
Installation time can be like a winding road. It changes based on how complex the job is. Most installations take between 10 to 30 minutes. With some practice, you can do it faster. Gather your tools, and get ready for the task. Stay focused, and you’ll finish in no time!
Will Adding Armrests Void My Chair’s Warranty?
Adding armrests can void your chair’s warranty. Many warranties limit changes to the chair. Unauthorized modifications often lead to denied claims. This means you might not get help if something breaks. Always check with the manufacturer before making changes. They can give you the best advice. Protect your investment by following warranty rules.
Are There Specific Armrest Styles for Different Chair Types?
Different chair types have specific armrest styles and designs. Budget chairs usually have fixed armrests. These are simple and cost-effective. Gaming chairs often feature 4D adjustable armrests. This lets users move them in different directions for comfort. Office chairs may have adjustable armrests too, offering support during long hours.
Each style serves a purpose. Fixed armrests save money. Adjustable armrests provide flexibility. Comfort matters. Choose the right armrest for your needs. With the right choice, you’ll enjoy better support while sitting.
Can I Install Armrests Without Professional Help?
You can install armrests by yourself. It’s a fun DIY project. With some basic tools, you can make your chair better. Just take your time. Follow the instructions closely. Make sure everything is aligned well. This ensures the armrests are stable and comfortable. Enjoy your new chair!
Conclusion
You’ve added armrests to your chair. Now it’s a throne! With some effort and the right tools, you’ve changed your seating experience. Every project has its challenges. Remember the time you tried to high-five but missed? Keep adjusting the armrests until they feel perfect. Sit back, relax, and enjoy your comfy new armrests. You did a great job!