
How to Fix a Wobbly Chair Arm
This post contains affiliate links. As an Amazon Associate, we earn from qualifying purchases.
To fix a wobbly chair arm, start by clearing your workspace and gathering some basic tools like screwdrivers. Carefully disassemble the chair and inspect the joints for any cracks. Remove any old glue, then apply a fresh layer of wood glue. Clamp it tightly to ensure a strong bond. Once the glue is dry, reassemble the chair, and you’re good to go! For those interested in more detailed steps and tips, further explanations will follow.
Essential Facts in 30 Seconds
- Check for loose screws or bolts on the chair arm and tighten them.
- Carefully disassemble the chair arm and label parts for reassembly.
- Clean joints and surfaces to remove old glue and debris.
- Apply wood glue to the joints, clamp tightly, and let it cure.
- Reassemble the chair and test the armrest for stability before use.
Preparing for the Repair
Before fixing that wobbly chair arm, make sure you’re ready to get to work. Safety comes first.
Keep your workspace clean and free of clutter. You don’t want to trip over tools while you fix things. Gather your tools like screwdrivers and pliers. These will help you a lot. Regular maintenance is essential to maintain chair longevity and prevent issues from neglect. Regularly inspecting screws and joints for tightness can also help prevent future issues. It’s also important to assess chair damage before starting the repair process. Additionally, tightening loose joints can significantly enhance the stability of your chair arm.
Check your chair’s warranty before you start. You don’t want any surprises later.
Look at the user manual or repair guide for your chair model. These can provide useful tips.
With everything ready, you’re set to give that chair arm the care it needs. Let’s repair that arm and make it strong again!
Disassembling the Chair
Disassemble that chair arm like a pro!
First, label all the chair parts. This prevents missing pieces later. Additionally, make sure to use common tools for disassembly to ensure a smooth process. It’s also advisable to inspect for any wobbly legs that may need fixing during the disassembly. During this time, check for cracks or breaks in the chair legs that may require repairs. Proper evaluation of the chair’s condition can help identify broken strands that might need attention.
Next, remove any old glue or sticky stuff.
Store your parts in labeled bags. This will help you avoid confusion when putting everything back together. Follow these steps, and you’ll have no trouble at all!
Labeling Chair Components
Disassembling a chair can be easy with the right steps. Start by knowing the parts of the chair. These include the seat, backrest, armrests, and base. Each part has its job. The seat holds your weight. The backrest gives you support. It’s important to note that regular chair maintenance can prevent issues like wobbly armrests. Regular inspections can help identify loose screws or bolts that may affect stability.
Labeling is very important. As you take apart the chair, label each screw and bolt. This helps avoid confusion later on. Use a diagram if you have one. Keeping track of the chair’s components is essential, especially if the chair has any identifying labels or stamps that can aid in valuing the piece. Additionally, ensure visibility of screws and connections in hard-to-reach spots to facilitate easier reassembly. Keep all the hardware organized in one place.
This process isn’t hard. It can even be fun! Soon, you’ll feel like a chair-fixing expert. Enjoy the challenge and celebrate your success!
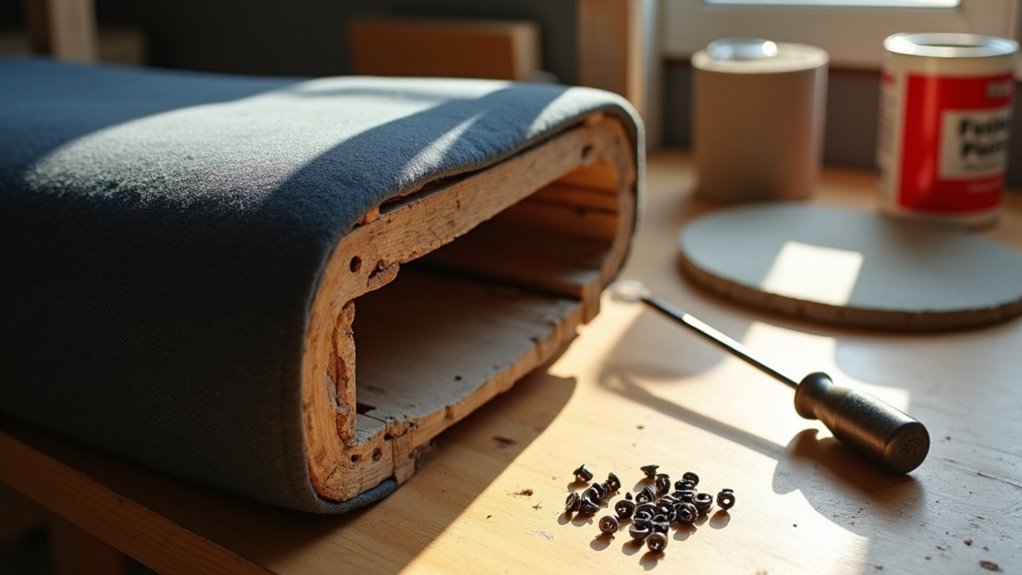
Removing Old Glue
Removing old glue from a wobbly chair is crucial. Start with a heat gun to warm the glue joint. This softens the glue without harming wood. No heat gun? Use hot water instead. Just be patient!
After softening the glue, use a small flathead screwdriver. Gently pry apart the pieces. For hide glue, vinegar is effective. It helps remove adhesive easily. Additionally, assessing the damage can guide your repair process.
Some joints may have different glue types. Take your time to clean all surfaces well. This ensures the new glue sticks properly. A clean surface means a stronger bond. Fixing your chair can be satisfying. Enjoy the process and happy repairing!
Safe Part Storage
Getting your chair ready for storage is a fun puzzle! Start by picking a clean, safe, and dry space. This keeps your furniture safe from heat and moisture.
Carefully take apart your chair. Follow the steps from the manufacturer. Put all screws and bolts in labeled bags. This makes finding them easy later. Ensure you remember to inspect the height adjustment mechanism for any potential issues before disassembly. It’s essential to check for visible damage to avoid future problems.
Before you store the parts, clean and dry them well. Nobody wants stains or mold surprises.
Wrap each part in blankets or bubble wrap. This protects delicate edges from damage. Additionally, cleaning the area before storage is essential to ensure no dirt affects the materials.
Finally, organize and label everything. This helps you put the chair back together easily later. A little preparation makes a big difference. Your chair will be ready to use again quickly!
Cleaning Joints
Cleaning the joints of your wobbly chair gives it some much-needed care. Start by removing old glue with a sharp scraper or putty knife. Be gentle to avoid damaging the wood. For stubborn glue, try using white vinegar. It’s important to ensure that the surface is free from dirt for better adhesive bonding during this process. Regular cleaning can help maintain the integrity of the chair’s materials.
Next, dust the joints with a microfiber cloth and a soft-bristle brush. This will help get rid of pesky dust and particles. Additionally, ensure that you vacuum or brush the chair to remove any dirt that may affect the joints.
Here’s a handy table to keep your cleaning organized:
| Step | Tools Needed | Tips |
|---|---|---|
| Remove old glue | Scraper, vinegar | Work gently to avoid damage |
| Dust the joints | Microfiber cloth | Always go with the grain! |
| Clean sticky spots | Plastic scraper, oil | Change cloth spots often |
| Inspect joints | Compressed air, brush | Look for cracks or splits |
Now you’re ready to check and maintain those joints!
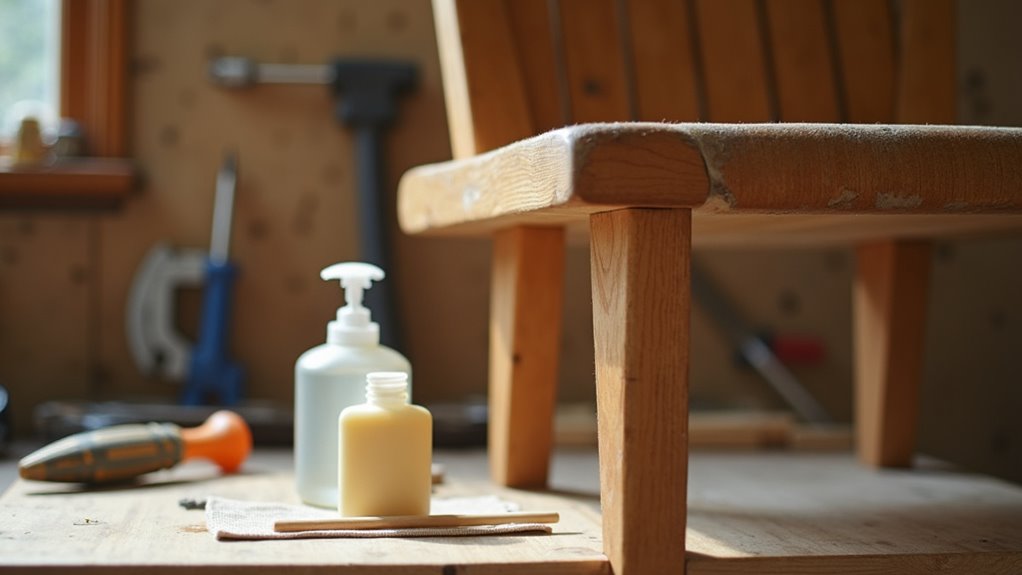
Applying New Glue
Your chair’s joints are clean and ready for glue. First, pick the right glue. PVA wood glue is great for indoor use. For gaps or outdoor projects, choose epoxy.
Apply a thin layer of glue on the surfaces with a brush or applicator. Clamp the joints tightly. This is crucial for a strong bond. Regular inspections can maintain joint stability throughout the curing process to avoid any future issues. It’s important to regularly check screws and components for tightness to ensure long-term stability.
Pay attention to the curing time. PVA glue takes about 24 hours to cure. Epoxy needs even longer. Patience is key—good results take time! Additionally, ensure that the joint stability is maintained throughout the curing process to avoid any future issues.
Clean up any glue spills right away. This prevents a messy situation. Think of it like spilling ketchup—act fast!
With the right glue and care, your chair arm will be strong again soon. You’re doing great as a DIYer!
Reassembling the Chair
After gluing everything and letting it cure, it’s time to reassemble your chair. First, attach the seat assembly to the chair frame. Make sure the screw holes line up perfectly. Keep your screws, washers, and nuts organized. This will save you from searching later.
Next, slide the arm assembly onto the chair frame. It should fit smoothly. If it doesn’t, check the alignment. Tighten the screws just right. Too tight can strip them.
Finally, inspect everything. Ensure all fasteners are secure and the armrests are stable. Test the armrests to make sure they work well. You did it! Your chair is ready for use.
Final Touches
Before relaxing in your newly fixed chair, ensure it looks and feels great! Start by checking all screws and bolts. Tighten them firmly, but don’t overdo it. Stripped screws can cause problems later.
Inspect for any cracks. If you find any, apply wood glue to fix them and ensure the arm fits snugly.
For a smooth finish, sand down rough spots. Use a stain or paint that matches your chair to cover scratches. A clear coat protects against wear and keeps your chair looking sharp.
Got metal hardware? Polish it to create a cohesive look.
Wait for everything to dry before sitting down. Patience is key.
Now your chair isn’t only sturdy but also a stylish place to relax! Great job on your hard work!
Frequently Asked Questions
What Causes a Chair Arm to Become Wobbly?
A chair arm can become wobbly for a few reasons. Loose fasteners are a common cause. Over time, screws may loosen. Worn materials can also lead to instability. If the chair is old or used often, parts may wear out. Structural defects, like cracks or weak joints, can cause problems too.
To keep your chair arm stable, check it regularly. Tighten any loose screws you find. Look for signs of wear on materials. Inspect joints for cracks or weakness. Regular maintenance helps keep your chair in good shape.
How Can I Prevent Future Wobbles in My Chair?
A sturdy chair makes sitting safe and comfortable. Regular maintenance keeps your chair strong and prevents wobbles. Check the screws often. Tighten them if they feel loose. Inspect the joints, too. A small crack can lead to bigger problems.
Use furniture polish on wooden chairs. This helps protect the wood and keeps it looking nice. For metal chairs, look for rust. Wipe it away with a soft cloth.
Place your chair on a flat surface. Uneven floors can cause wobbling. Use felt pads under the legs if needed. These pads help keep your chair steady.
Lastly, avoid jumping or standing on your chair. This can damage its structure. Treat your chair well, and it will serve you for years.
Is There a Quick Fix for a Wobbly Chair Arm?
A wobbly chair arm can be fixed quickly. First, check the screws. Tighten any loose screws you find. This simple step often helps.
If screws don’t work, try E-Clips. They can hold things together temporarily.
Regular maintenance keeps your chair in good shape. Check for loose parts often. This way, your chair stays stable and comfortable.
How Long Does Wood Glue Take to Dry Completely?
Some wood glue types dry in just 10 minutes. Others may take up to 60 minutes. Yet, for full strength, it usually takes 24 hours. Waiting is important for strong results. Make sure to allow enough time for the glue to set properly. Patience pays off in wood projects!
Can I Use Other Types of Glue for This Repair?
You can explore different types of glue for your repair. PVA glue works well for tight joints. It dries clear and is easy to use. Hide glue is another option. It’s reversible, making it great for delicate repairs. Each glue type has its own advantages. Pick the one that fits your needs best.
Conclusion
You fixed that wobbly chair arm! Give yourself a high-five! It’s amazing how glue and a little effort can make such a big difference. Now, when you eat popcorn or play games, your chair will be sturdy. No more wobbling like jelly on a plate! Sit back, relax, and enjoy your solid chair. Simple fixes can feel great. You did it!