
How to Repair Chair Legs
This post contains affiliate links. As an Amazon Associate, we earn from qualifying purchases.
To repair wobbly chair legs, you’ll need sandpaper, glue, and a dust mask. Start by checking for loose joints and applying wood glue to secure them. If a leg is broken, cut a new piece, drill countersink holes, and fasten it with screws. Finally, test the chair’s stability by gently shaking it. For those interested in a more detailed guide and additional tips, further explanations will follow in the article.
Essential Facts in 30 Seconds
- Inspect chair legs for wobble and damage; identify joint types before disassembly.
- Disassemble the chair carefully; label parts and check for cracks or wood rot.
- Remove old glue from loose joints; apply high-quality wood glue and use clamps.
- Reassemble the chair; ensure all joints are tight and test stability by applying weight.
- Perform regular maintenance and inspections to prevent future repairs and extend chair life.
Preparation and Tools
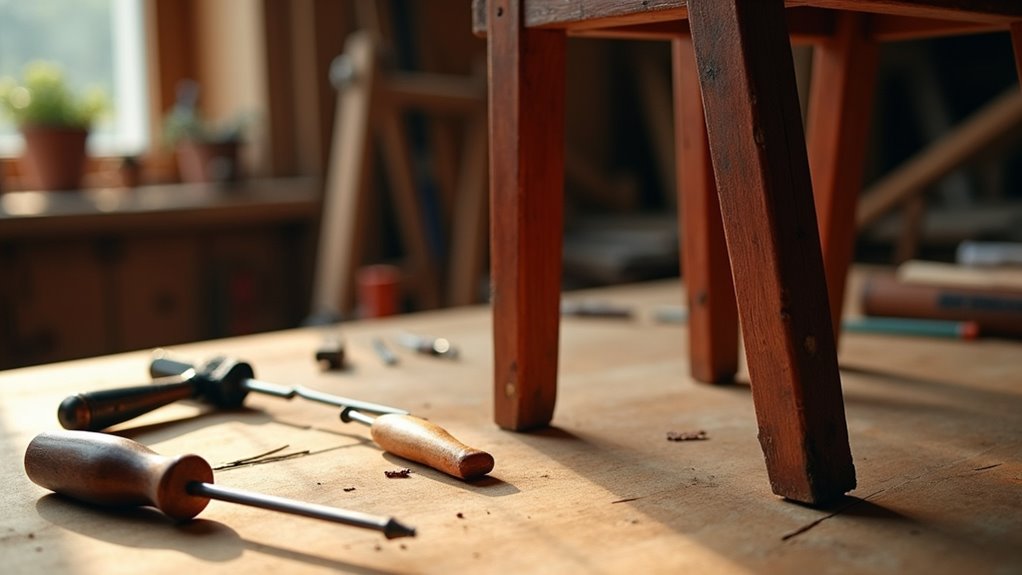
Get ready to fix those wobbly chair legs! Start by gathering your tools. You need sandpaper, a tack cloth, and a dust brush. These will help you prepare the surface. Proper chair inspection is essential to identify the exact cause of the wobble. Assessing the damage extent will guide you in choosing the right repair method.
Clean the chair well before you begin. Safety is important, so wear gloves, safety glasses, and a dust mask. Reattaching the broken piece is crucial for creating a strong bond, which will ensure stability before further steps.
Next, find a stable, flat work surface. A wobbly table won’t help your wobbly chair. Good lighting is also essential. You need to see clearly, especially for small parts.
Grab some clamps too. They’ll hold everything steady while the glue dries. Think of clamps as your chair’s little helpers.
With these steps, you’re ready to fix those chair legs like a pro. Let’s get started!
Disassembly and Inspection
Set up your tools and clear your workspace. Now, it’s time to disassemble the chair legs. First, identify the types of joints. Look for mortise and tenon, dowel, or corner block joints. Label each part for easy reassembly. Use codes like “RF” for the right front leg. Taking a quick photo helps too!
| Joint Type | Documentation Method | Condition Check |
|---|---|---|
| Mortise and Tenon | Label with “MT” | Check for cracks |
| Dowel | Label with “D” | Look for wear |
| Corner Block | Label with “CB” | Inspect for rot |
Gently tap the joints apart with a small hammer. If glue is present, apply heat to soften it. Check for any damage, like cracks or wood rot. Understanding the condition of each part helps you make repairs confidently. Remember that chairs experience looseness due to live loads and frequent use, making it essential to address any issues promptly. It’s also important to inspect screws and joints regularly to maintain stability and prevent further damage. Additionally, repairing cracked legs can significantly extend the chair’s lifespan and usability. Properly assessing the damage of each joint type is crucial for effective repairs on furniture.
Repairing Loose Joints
Loose joints in chair legs are a common problem. Fixing them is simple. Start by turning the chair upside down on a soft surface. This prevents scratches. Find the loose joints and carefully remove the old glue. It’s like taking off a stubborn sticker!
Here’s what you need:
- High-quality wood glue
- Fine brush for glue
- Clamps to hold the joints
- Weights for stability
- Patience for the glue to set
For different joints, like mortise and tenon, use the brush to spread glue evenly. Tight Chairs is specifically designed to penetrate joints without the need for disassembly, ensuring a strong bond. Additionally, ensure that you tighten loose fasteners to reinforce the overall stability of the chair. Properly applying wood glue is essential for achieving a durable repair. To make the repair even more effective, you may want to inspect chair joints for any signs of looseness.
After applying glue, quickly clamp the joints. Add some weight to keep them snug. Let the glue cure for several hours. After that, check the tightness.
You’re on your way to a solid chair again. Great job tackling this repair!
Repairing Broken Legs
Fixing a broken chair leg is simple.
Start by drilling a countersink for your screws. This makes them sit flush with the wood. No one wants a snagged sock!
Next, use wood filler to fill any gaps. Smooth it out for a clean look. Your chair will look just like new.
It’s like magic, but with tools!
Drill Countersink for Screws
Fixing a wobbly chair leg is easy with the right tools. Start by drilling a countersink. This makes sure your screws sit flat. A flat screw head looks better and gives a strong hold.
Here are some key tips:
- Pick the right countersink bit for your screw size.
- Drill deep enough for the screw and to cover with filler.
- Keep pilot holes aligned for added strength.
- Use clamps to hold everything steady while drilling.
- Always test on scrap wood first to avoid errors.
The right countersink depth stops wood from splitting. It also hides screw heads under wood filler. This keeps your chair looking great.
With patience and practice, you’ll repair that chair like a pro. Let’s make that chair sturdy again!
Apply Wood Filler Smoothly
After securing those screws, it’s time to apply wood filler. This will fix any broken legs on your chair. First, prepare the surface. Clean it well for better adhesion. Mix the filler until it’s a smooth paste. It shouldn’t be too runny or too dry. Use a putty knife to apply it. Press firmly to avoid air pockets. Ensuring that the leg is stable and secure will help maintain the overall integrity of the chair.
Here’s a simple guide:
| Step | Action | Tip |
|---|---|---|
| 1. Surface Prep | Clean and sand the area | No dust allowed! |
| 2. Filler Mix | Combine filler and hardener | Stick to the ratio! |
| 3. Apply Filler | Use a putty knife | Go big, then smooth! |
| 4. Drying | Let it cure completely | Patience pays off! |
| 5. Sanding | Use finer grit for a smooth finish | Dust off before painting! |
Now, your chair leg will be sturdy and ready to use!
Securing Loose Attachments
Securing loose attachments on chair legs is important for stability. Start with a solid plan. Check the joint types, like mortise and tenon or dowel pins. Look for visible separation or wobbling. Clean out any old glue.
Follow these steps to secure the joints:
- Gather wood glue or two-part epoxy for a strong bond.
- Label all chair parts before taking them apart. This makes reassembly easier.
- Use clamps to keep joints tight while the glue dries.
- Insert wooden shims for a snug fit if the joints are too big.
- Avoid screws or nails, as they can split the wood.
Additionally, ensure you check the height adjustment mechanism for any issues that could affect overall stability. With the right glue and some patience, your chair legs will stand strong again. A little mess now means a sturdy fix later.
No more wobbling—just solid seating!
Final Touches and Testing
After securing those loose parts, it’s time to put everything back together.
Check your chair’s stability by sitting down and shifting your weight. Does it wobble?
If not, you did a great job! Celebrate your success.
You just saved your chair from ending up in the junkyard!
Reassemble All Components
Reassembling your chair can be a fun project! Check every piece to find its right place, just like a puzzle. Start with clean and dry joints. Use smart techniques for a strong build. Here are some tips:
- Label each part to make it easy to find.
- Test fit pieces before using glue.
- Sand any rough spots for a smooth bond.
- Apply glue evenly, focusing on how pieces fit together.
- Clamp securely but gently to protect the finish.
Once everything feels tight and secure, give your chair a gentle shake. It’s almost done! Remember, ensuring a strong build will help prevent issues like gas cylinder failure in the future. Additionally, keeping an eye on wear and tear can further enhance the longevity of your chair. Regular maintenance can also help identify problems early on, such as worn-out pneumatic cylinders.
Keep it sturdy and stylish. Soon, it will be ready to support you again, without any wobble!
Conduct Stability Test
Before using your newly repaired chair, conduct a stability test. Start with a quick visual check. Look for cracks or loose joints.
Next, test the chair with a weight of 173 pounds. Place it in the center of the seat. Make sure the weight is even. Apply pressure to see if the chair tips or wobbles. No one wants a surprise fall!
Check the footrest too. Test how the chair reacts to side pushes. Shift your weight around while sitting. Watch for any strange movements or sounds, like squeaks.
Keep track of everything during your stability test. You can do this!
Safety Measures
Safety is key for chair leg repairs. Follow these tips to keep yourself safe:
- Wear protective gloves to protect your hands.
- Use safety goggles to shield your eyes.
- Put on a dust mask or respirator when sanding or using chemicals.
- Choose protective footwear to avoid foot injuries.
- Wear long sleeves to guard against splinters and chemicals.
Always read chemical labels. Pick safer options when you can.
Preparing ahead makes a big difference. Gear up, stay organized, and let’s fix those chair legs safely, step by step!
Quality Check
Now that your safety gear is on, it’s time for a quality check! Start with material verification. Look for cracks or warping. Confirm the dimensions match the standards. Your chair needs to stand tall and proud! For wooden chairs, check the humidity content.
Next, inspect the assembly. Make sure everything is put together according to the instruction manual. Test the chair on a flat surface. No one wants a wobbly chair!
Perform static load and fatigue tests. The chair must be strong enough for daily use.
Finish with a visual inspection. Look for any scratches or defects. Keeping your chair in great shape is important for safety too!
Quality assurance and thorough inspections are key. Happy repairing!
Frequently Asked Questions
What Types of Wood Glue Are Best for Chair Repairs?
For chair repairs, epoxy adhesives work great for filling gaps. They create strong bonds that last. Polyurethane glue is another excellent choice. It is waterproof, making it perfect for outdoor chairs. Both options keep your furniture sturdy and durable. These glues help your chairs survive wear and tear. Use them to maintain the strength of your furniture. Choose the right glue for the best results. Your chairs will be as good as new!
How Can I Prevent Future Damage to Chair Legs?
After refinishing a vintage chair, protect it. Use strong coatings to guard against scratches and stains. Chair pads are a must. They keep your chair legs safe from hard surfaces. Regular cleaning helps too. Dust and dirt can cause damage over time.
Keep your chairs in a cool, dry place. Too much sun fades colors. Moisture can warp wood. Inspect your chairs often. Look for signs of wear and fix them early. Taking these steps will help your chairs last longer and stay beautiful.
Can I Use Super Glue for Wooden Joints?
Super glue can be used for wooden joints. It works well for quick fixes. But remember, its strength is not the best. For strong and lasting bonds, wood glue is a better choice. Wood glue is great for heavy items. It holds better under pressure. Use super glue for small repairs. For larger projects, always pick wood glue. It gives you the durability you need. Stick with wood glue for the best results.
What Should I Do if the Chair Is Wobbly After Repair?
A wobbly chair after repair can be frustrating. Treat it like a partner needing some help. Start by checking and tightening all screws. Sometimes, a simple twist can fix the problem.
Look for other solutions too. Consider adding furniture pads under the legs to level it out. A small piece of cardboard can help stabilize a short leg.
Take your time and test the chair after each adjustment. Make sure it feels steady before using it again. A little effort can lead to a comfortable and safe seat. Enjoy your newly fixed chair!
How Do I Match the Wood Finish After Repairs?
To match wood finishes after repairs, follow these steps. First, gather wood stains that match your original finish. Test them on scrap wood. This helps you see how the color looks.
Blend the new finish with the old edges. Apply thin coats of stain. This helps to build up the color slowly. Lightly sand between coats for a smooth look.
Keep checking the color as you work. Adjust as needed. With patience, you can hide your repairs well. Your finished piece will look great and seamless.
Conclusion
Get ready to fix those chair legs! Almost 70% of furniture repairs deal with loose joints. You’re not alone in this. With the right tools and some patience, you can make your chairs strong again. First, gather your glue and tighten any screws. Show your chairs some love. Soon, they’ll be sturdy and stylish once more. Great job for taking this on!