
How to Reweb a Lawn Chair
This post contains affiliate links. As an Amazon Associate, we earn from qualifying purchases.
To reweb a lawn chair, begin by checking for damage and cleaning the frame. Cut new webbing to size, making sure to leave a bit of extra length for folding. Attach the horizontal strips by pulling them tight, similar to lifting weights. Next, weave the vertical strips in and out, ensuring they are snug but allowing for a little stretch. Finally, inspect for any loose ends and clean the frame. For those interested in a deeper understanding of the process, further details and tips will be provided below.
Essential Facts in 30 Seconds
- Inspect the lawn chair for any damage and clean it thoroughly before rewebbing.
- Choose durable webbing material that is suitable for outdoor use and fits the chair design.
- Measure and cut the new webbing based on the dimensions of the old webbing.
- Securely attach the new webbing to the chair frame, ensuring tension and even spacing.
- Trim any excess webbing and regularly clean and check the chair for wear to maintain longevity.
Preparing the Lawn Chair
Getting your lawn chair ready for rewebbing is a fun DIY project!
Start by checking for any damage. Look for rust, loose screws, or broken parts. This step is important for safety and comfort.
Next, grab some scissors or a utility knife. Carefully cut away the old webbing. Be gentle to avoid hurting the frame.
Cleaning comes next. Use a damp cloth with mild soap. Wipe down the chair, making sure to get into all the nooks and crannies. If you see rust, use a wire brush.
After cleaning, let the chair dry completely. You don’t want soggy webbing! Inspect the frame for signs of damage to ensure a successful repair.
Now your chair is ready for the next steps. With a clean frame, you can weave new webbing. Soon, you’ll have a comfy chair again. Great job on your DIY adventure!
Measuring and Cutting New Webbing
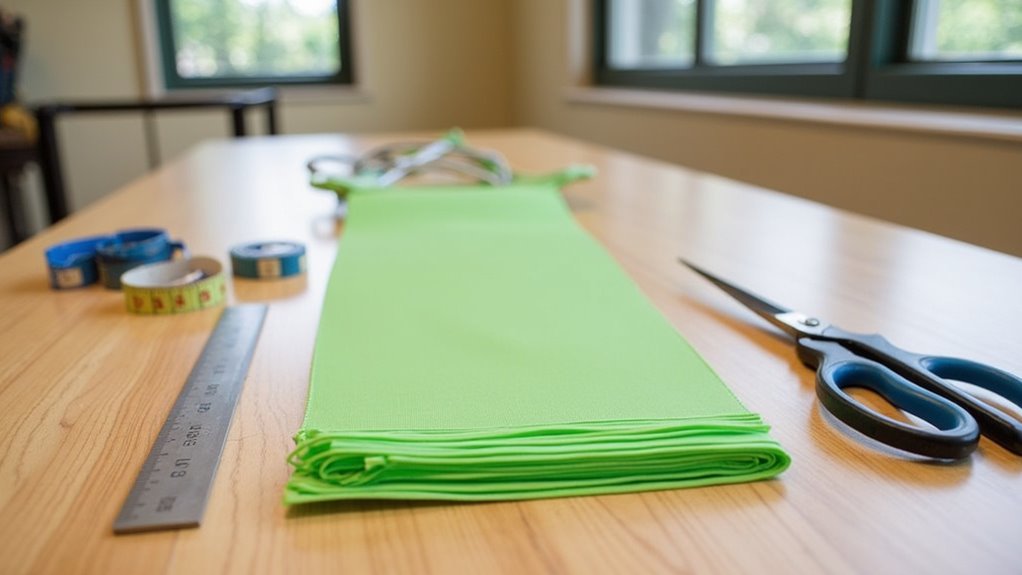
Let’s measure and cut that new webbing! Use the old webbing as a guide. Lay it out flat. Measure the length and width carefully. Add a little extra for folding. This helps the new webbing fit snugly. It also makes your work look great! Remember, a sharp pair of scissors works best. Cut straight lines for a clean edge. If you don’t have old webbing, measure the area where it will go. Write down the measurements. This will ensure you get the right size.
Once you cut the webbing, check the fit. It should be just right. Not too tight, not too loose. For a good result, it’s recommended to use heavy-duty polypropylene webbing as it balances economy and softness.
Take your time. Doing it right makes a big difference! Happy crafting!
Using Old Webbing Template
Before rewebbing your lawn chair, using the old webbing as a template is very helpful. Start by carefully removing the old webbing. Keep its original shape intact. Lay it flat on a surface. Grab a metal tape measure for exact measurements. Don’t forget to add about 2.5 inches for folding under the hardware. Additionally, ensure to measure strap length accurately by following the path the new webbing will take.
Here’s a simple table to help you:
| Step | Action | Notes |
|---|---|---|
| Measure Length | From end to end | Include extra for folds |
| Measure Width | From the center of old webbing | Account for stretch |
| Mark New Webbing | Align edges and draw lines | Remember to taper! |
These measurement tips will make the process easier. Proper fitting webbing ensures comfort and durability!
Cutting to Proper Length
You have your old webbing measurements ready. Now, cut your new webbing to the right length.
Add about 2.5 inches to your measurements. This extra length helps when folding over edges. Use sharp scissors or a cutting tool for clean cuts. This prevents fraying.
Measuring accurately is very important! Check both length and width, especially if your webbing stretches. Seal the edges with a lighter or fray check for a smooth finish.
Taper the corners with a hot knife for a stylish look. Mistakes happen. Just laugh it off!
Now, let’s cut and make that chair ready!
Attaching the New Webbing Horizontally
Let’s attach that new webbing horizontally! It’s simple and fun. First, measure the chair frame. Cut your webbing strips, leaving an inch extra on each end. Mark the centerline to keep everything straight. Use vinyl or nylon webbing for best results.
Grab a staple gun, clips, or screws. Fold one end of the webbing over. Secure it with your chosen method. Pull the webbing tight across the frame. No one wants a saggy chair! Attach the other end while keeping the tension. For extra strength, use upholstery tacks. Just don’t overtighten. You don’t want to hurt the frame.
A little wiggle helps. Make sure your webbing is parallel and tight. This gives a nice finish! Enjoy your project!
Weaving Vertical Strips
After placing the horizontal strips, it’s time to weave the vertical strips! Use durable webbing and cut the strips longer than the chair height. This extra length will help with attaching them later.
Start weaving by going in and out of the horizontal strips. Alternate between going over and under. This method creates a strong lattice. It will look great!
Keep an eye on the tension. The strips should be tight enough to avoid sagging. They also need some flex when you sit down. Think of it like a trampoline!
Check the spacing to keep everything even. Fix any twists or folds right away. Nobody wants a lumpy seat. This process will make your chair comfy and stylish. Enjoy your project!
Securing and Finishing the Webbing
Securing and finishing the webbing is important for a strong chair. Start with durable webbing, like polypropylene or nylon. Use clips or screws to attach it, depending on your chair frame. For narrow webbing, triangulate the attachment points to avoid ripping.
Each webbing piece should be longer than needed. Fold the edges before threading them through the frame. This helps keep everything secure. As you tighten the webbing, make sure it’s snug but not overly tight. Think of it as giving your chair a cozy hug.
Check the clip orientation for proper alignment. Add extra clips if you want more security.
You’re almost done! Just a few more touches, and your chair will be ready to use.
Tools and Materials Needed
Get ready for your rewebbing project! Gather some essential tools: a tape measure, webbing clips, and more.
Choose materials that will make your chair look great again.
Safety is key! Wear eye protection and gloves. This keeps you safe while you work.
Let’s make your chair look fantastic!
Essential Tools Overview
Rewebbing your lawn chair is easier with the right tools. Start with heavy-duty fabric scissors to cut the webbing. A Phillips-head screwdriver helps with stubborn clips.
Keep a flat-head screwdriver nearby for extra help. Use needle-nose pliers to remove old clips. A measuring tape ensures you cut webbing to the right lengths.
Wear work gloves to protect your hands. Clean the chair frame with a stiff brush or compressed air. Check your tools before you start.
Good tools make the job go smoothly. Get ready to reweb that chair!
Required Materials List
Get your lawn chair ready for rewebbing by gathering the right materials. Here’s a simple list of what you need:
| Item | Details |
|---|---|
| Webbing Material | Choose polypropylene for durability. |
| Webbing Alternatives | Look at polyester or nylon too. |
| Webbing Length | About 45 feet; check your chair size. |
| Webbing Clips | Use clips for tubular frames. |
| Measuring Tape | Essential for measuring webbing length. |
With these materials, you can start your project. Roll up your sleeves and make that chair look new again. Remember to keep a cloth handy for any spills. Enjoy your crafting!
Safety Equipment Considerations
Before rewebbing your lawn chair, it’s essential to wear the right safety gear.
Start with heat-resistant gloves and safety glasses. These items protect you from burns and splinters. Long-sleeve clothing shields your skin from sharp edges. Closed-toe shoes keep your feet safe.
Use ergonomic tools like insulated pliers and sharp utility knives. These tools help you work efficiently and reduce strain.
An organized workspace is important. A clean area cuts down on tripping hazards and helps you find small screws easily.
Now, you’re ready to make that lawn chair look brand new!
Frequently Asked Questions
What Type of Webbing Is Best for Lawn Chairs?
Choosing the right webbing for lawn chairs makes a big difference. Nylon webbing is strong and durable. It can handle heavy use and lasts a long time. Polypropylene webbing is another great choice. It is weather-resistant and affordable. This type of webbing won’t fade in the sun or get damaged by rain.
Both nylon and polypropylene are excellent for outdoor use. They make sure your lawn chairs stay in good shape for years. Think about how you will use your chairs. This will help you pick the best webbing for your needs.
Can I Use Fabric Instead of Webbing?
Fabric can cut costs by up to 30% compared to traditional webbing. While fabric may not be as strong as polyurethane, it adds beauty to chairs. You can find many vibrant colors and textures in fabric. This makes it a stylish choice for your furniture. Using fabric can make your space feel more inviting and fun. It’s a great alternative for those looking to save money and enhance their décor.
How Long Does Rewebbing a Lawn Chair Take?
Rewebbing a lawn chair takes about 30 minutes to several hours. Your skill level affects how long it takes. Beginners might need more time. Experienced people can do it faster. Using good techniques helps speed up the process. This also makes your chair last longer. Proper rewebbing keeps your outdoor furniture looking great.
Is There a Weight Limit for Rewebbed Chairs?
Rewebbed chairs have a weight limit of about 225 pounds. This limit is important for safety. Exceeding it can cause the webbing to break or damage the chair’s frame. Always check the manufacturer’s guidelines for your specific chair. Safe seating means longer-lasting chairs and a better experience. Keep this weight limit in mind to avoid problems.
Can I Reweb a Chair With Different Colors?
Rewebbing a chair with different colors is a great idea! It allows you to show your style. Mixing colors can make your chair look unique and fun. Choose strong materials to ensure comfort and durability. Bright colors can lighten up a room. You can match colors with your decor. It’s a simple way to refresh your furniture. Enjoy the process and let your creativity shine!
Conclusion
You’ve finished rewebbing your lawn chair. Now it’s time to relax. Your chair looks great and ready for use. It can be the highlight of your backyard. Your hard work pays off. Enjoy the sunshine and a cold drink. Sit back and appreciate your effort. You did an awesome job! Celebrate your success with a high-five!