
How to Restore a Leather Chair
This post contains affiliate links. As an Amazon Associate, we earn from qualifying purchases.
Restoring your leather chair is a straightforward process that involves cleaning, repairing, dyeing, and conditioning. Begin by checking for scratches or tears and gather the necessary materials, such as leather cleaner and adhesive. Clean the chair gently with a damp cloth and mild soap. For any tears, patch them with fabric and apply adhesive. After making these repairs, match the color with dye, applying it in thin layers. Finally, condition the leather to keep it soft and vibrant. This process is like giving your chair a spa day! Stay tuned for more detailed steps and tips on maintaining its fresh appearance.
Essential Facts in 30 Seconds
- Assess the leather chair for scratches, tears, and dryness before restoration.
- Clean the leather with a mild soap solution and soft cloth.
- Repair tears and cracks using adhesive and patches; then sand and condition the surface.
- Apply dye in thin layers for recoloring, blending while wet for seamless transitions.
- Regularly condition the leather to maintain flexibility and prevent cracks.
Assessing and Preparing the Leather Chair for Restoration
Before starting your leather chair restoration, assess its condition.
Examine the leather closely. Look for scratches, cracks, or tears. Check for discoloration or fading from sun exposure. Feel the leather. Dry or brittle leather indicates it needs care. A restoration project of a replica Barcelona Chair can serve as a great example of the thorough assessment needed for leather furniture. It’s important to clean the area before proceeding with any repairs to ensure the best results. Additionally, ensure you have the necessary supplies ready, including leather adhesive for any repairs. A thorough assessment often involves evaluating the specific issues such as texture and color.
Next, inspect the stitching and seams. Are they strong or worn? Look for stains or dirt; these will need cleaning later.
Write down everything you find to know what repairs are necessary.
Gather your supplies. You’ll need leather cleaner and filler.
Get ready to restore your chair. With these steps, your chair will receive the love it deserves. You can do this!
Cleaning Techniques for Leather Restoration
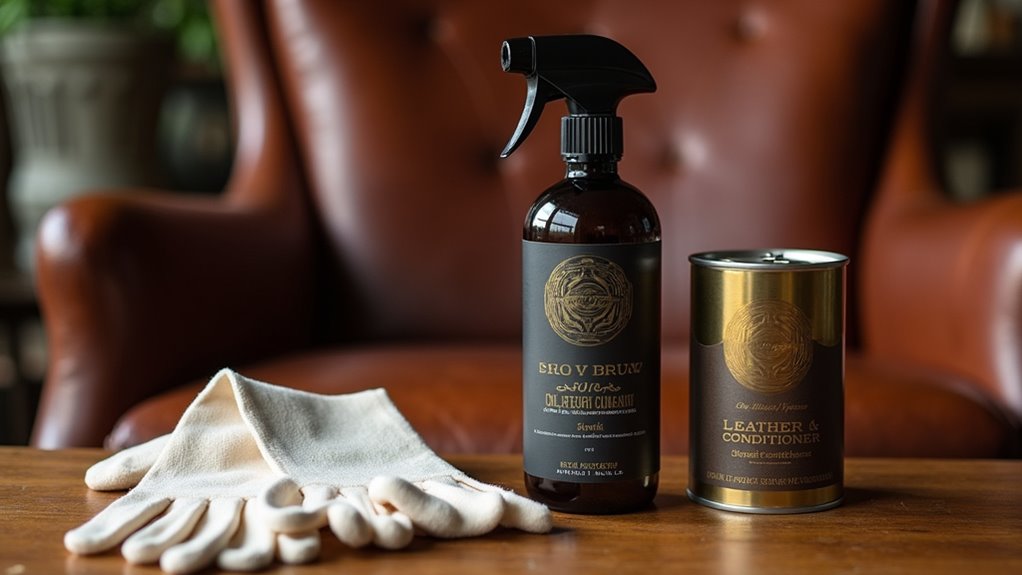
Cleaning a leather chair feels like giving it a spa day! Start by using a soft microfiber cloth. A vacuum upholstery attachment works great too. Avoid anything that might scratch the leather.
Always test your cleaning solutions on a hidden area first. Mix a few drops of mild soap with warm water for a simple cleaner. Use a leather brush to scrub gently. Move in circular motions from the top down. Regular cleaning helps maintain softness, color, and shine, ensuring the leather remains in optimal condition. Incorporating a vinegar and olive oil mixture can enhance the cleaning process. For stubborn stains, you can use rubbing alcohol or hand sanitizer to effectively lift ink marks.
Remember to keep your cloth damp, not soaking wet!
For tough stains, rub a little alcohol on a cotton swab. Be careful not to spread it around. After cleaning, wipe away soap residue with a clean, damp cloth.
Then, use a dry microfiber cloth to dry it. Let your chair air dry naturally.
Your leather chair will look fresh and new! Keep up this routine, and your leather will thank you!
Repairing Tears, Cracks, and Scratches
Your leather chair can look great again! Start by checking the damage. For tears, cut any loose edges with sharp scissors. This makes the repair easier. If the tear is small, press it together. Use a canvas or denim patch behind the tear for support. Tweezers help you place it just right. Use flexible adhesive to hold it down. Make sure it covers the whole tear. After securing the patch, ensure that the area is free of debris to achieve a smooth repair surface. Additionally, assess the depth and size of scratches to determine the best repair method. Remember to clean the area thoroughly before applying any adhesive for the best results.
For larger tears, it is recommended to use a leather patch that extends an inch beyond the tear for better support. For cracks, clean the area first. Then, apply leather repair filler to fill in the cracks. Smooth it out and let it dry. Sand it lightly between layers for a smooth finish. Once everything is dry, condition your chair. This keeps the leather soft and looking good. Your chair will feel like new again! Great job taking care of your furniture!
Recoloring and Blending Repairs
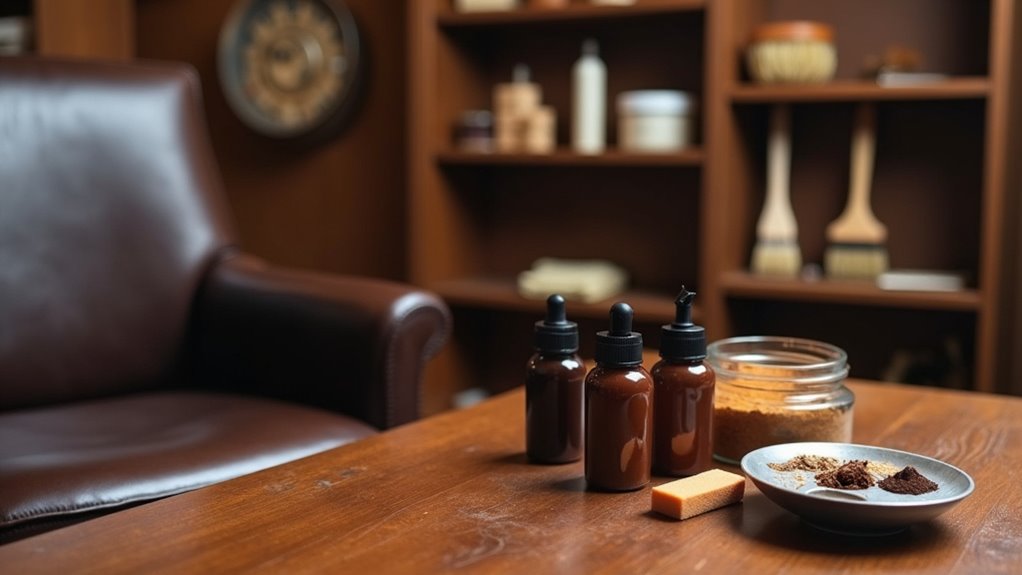
You fixed those annoying tears and scratches. Now, it’s time for a fresh look! Start with a dye that matches your chair’s color. Think of it like picking the best ice cream flavor. You want it to be just right!
Use a soft cloth to apply the dye. Go for thin layers. Blend the colors while they’re still wet. This helps avoid harsh lines. It’s like mixing colors in art class. Aim for a smooth transition! Remember, proper cleaning the area before applying dye ensures better adhesion and results. Additionally, make sure to assess the severity of any cracks to determine the best repair approach before dyeing. For optimal results, you should also evaluate the size of the tear to choose the right repair method.
Enjoy your newly colored leather chair! It will look great in your space.
Proper Dye Application Techniques
Giving your leather chair a fresh look is easy with the right dye application techniques. Start by preparing the leather. Use a wool dauber or cotton pad to remove dirt and old finishes. For a deeper clean, mix rubbing alcohol and lemon juice. Let the leather dry completely. Additionally, make sure to evaluate scratches to determine the best approach for your chair’s restoration. Light scratches can often be treated with a leather conditioner.
Next, tape off any non-leather parts. This keeps them safe from stains. Apply dye using a wool dauber. Use circular motions for an even blend. Thin coats work best. Build up the color gradually. For hard-to-reach spots, use a fine brush. Feather the edges to create a smooth finish. Additionally, consider applying leather conditioner after dyeing to nourish and protect the repair.
Follow these steps to refresh your leather chair. Enjoy your beautiful results!
Color Matching Strategies
Color matching can be easy with the right strategies. Start by testing colors on scrap leather. This way, you protect your chair. Additionally, be sure to act quickly if any accidents occur to prevent damage to the leather. Remember that cleaning the area before repairs is crucial for a successful outcome.
Always compare samples in natural light. This helps you see the true colors.
Mix small amounts of dye slowly. This prevents you from using too much color.
To keep colors consistent, blend similar colors gently. Use soft strokes to create smooth edges.
Apply darker colors in areas that get a lot of wear. This makes your work look more realistic.
Use glazes to add depth. They help your repairs look natural.
Remember to write down your color formulas for future touch-ups. Treat them like a secret recipe. Regular maintenance, including cleaning and conditioning, is essential for preserving your leather chair’s appearance.
Show your leather chair some love!
Conditioning Leather Post-Restoration
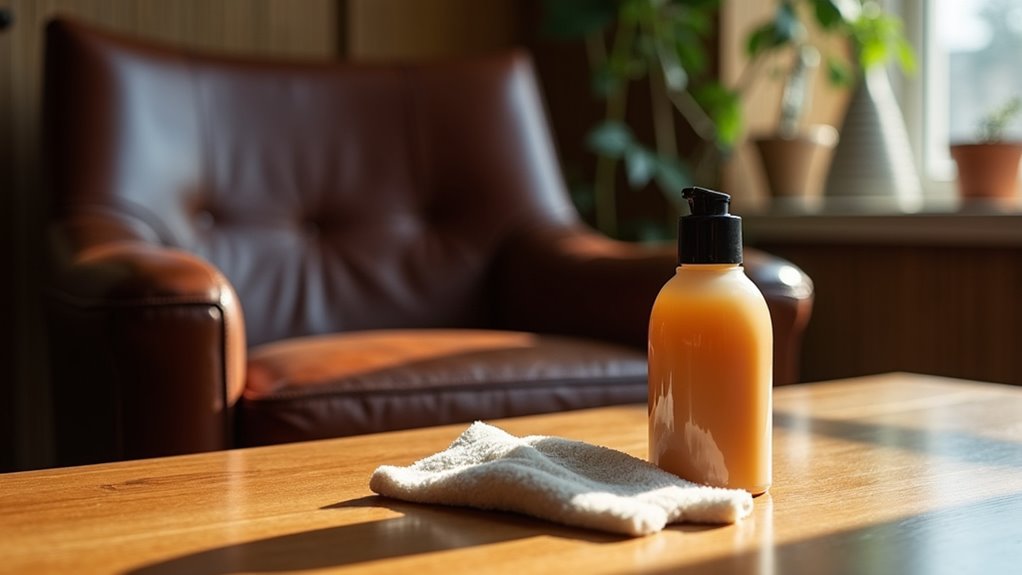
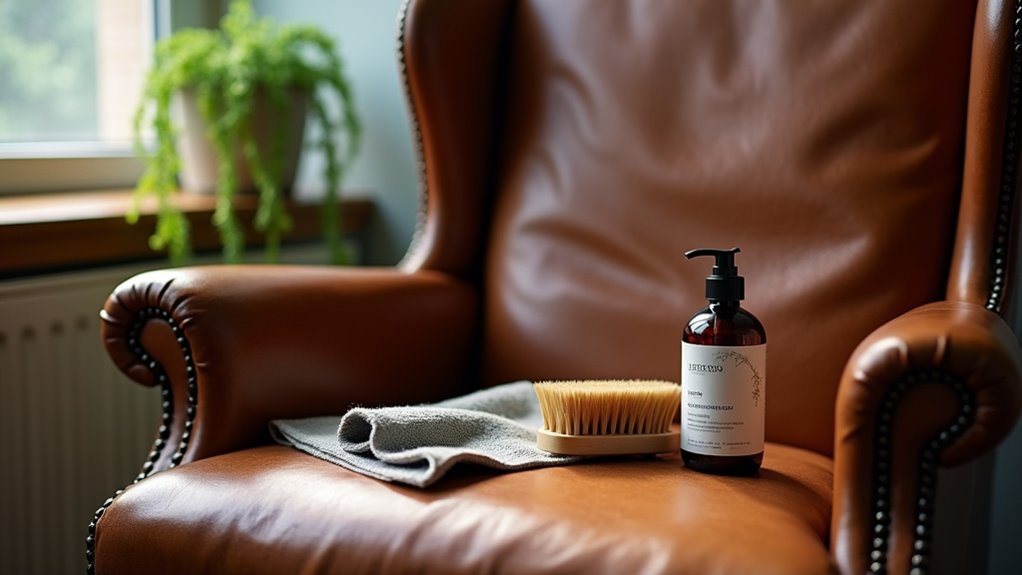
After restoring your leather chair, it’s time to condition it. Conditioning keeps your chair looking fresh and soft. A good leather conditioner protects the material from wear and tear. Think of this as a spa day for your chair! Regular cleaning and ventilation practices can also enhance the longevity of your leather.
Choose a conditioner that matches your leather type. Read the label carefully. Some conditioners work best on specific leather finishes.
Apply the conditioner evenly using a soft cloth. Rub it in gently. This helps the leather absorb the product better. Additionally, regular conditioning helps maintain leather integrity and prevents dryness and cracking.
Let the conditioner sit for a few minutes. After that, wipe off any excess with a clean cloth. This step ensures your chair doesn’t feel greasy.
Regular conditioning keeps your leather in great shape for years. You’ll enjoy a beautiful finish every time!
Importance of Conditioning
Keeping your leather chair in great shape needs regular conditioning.
Conditioning does more than just make your chair look nice; it improves its flexibility and comfort. This helps stop cracks from forming. Regularly conditioning your chair can make it last longer. A well-conditioned chair stays strong and beautiful for years.
It also locks in moisture, preventing dry patches that can cause rips. Think of conditioning as giving your chair a refreshing drink. It helps keep its color bright and lively.
Make conditioning a regular part of your chair care routine. Your chair will appreciate it, and you’ll enjoy a cozy, stain-free spot to relax!
Application Techniques
Conditioning your leather chair after restoration is important.
Start by cleaning the leather well. Use a lint-free cloth or leather care wipes.
Apply the conditioner gently in circular motions. Think of it as giving your chair a nice massage. Thin coats work best. Don’t use too much; let the leather soak it up.
Wait at least 2 hours before adding another layer. Make sure you’re in a well-ventilated area.
Condition your leather every 3 to 6 months. This keeps the leather soft and happy.
Spilled ketchup? Clean it first, then condition later!
Choosing Right Conditioner
After cleaning your leather chair, it’s time to pick a good conditioner.
There are three main types: water-based, oil-based, and wax-based.
Water-based conditioners are light and help restore flexibility.
Oil-based conditioners nourish deeply but can make your chair shiny.
Wax-based options work well for tougher leather. They seal and condition at the same time.
Look for beneficial ingredients.
Vitamin E protects against UV rays.
Natural emollients like lanolin keep leather soft.
Stay away from harsh chemicals. They can damage your chair over time.
Choose wisely. Let your leather look its best!
Protecting and Maintaining Restored Leather Chairs
To keep your restored leather chair in great shape, you need some care and good habits. Start with simple steps. Dust your chair every week. Use a soft cloth or microfiber. Don’t forget to vacuum the hard-to-reach spots too.
For a deeper clean, use products made for leather every 3-6 months. Be gentle—no scrubbing hard like you’re washing a car!
Apply a good leather conditioner every 6-12 months. This keeps the leather soft and happy.
Keep your chair out of direct sunlight and away from heat sources. This helps prevent fading and cracking.
Spilled ketchup? No problem! Blot the stain quickly with a dry cloth.
After cleaning, use leather protection sprays. These sprays help repel stains and moisture.
Follow these tips, and your chair will look great for years. Enjoy taking care of your leather!
Frequently Asked Questions
How Long Does the Entire Restoration Process Take?
The time it takes to restore something can be different for each job. Simple tasks usually need 1 to 3 hours. More complicated repairs can take several days. Drying time can add to the total. It’s smart to set aside at least one full day. This helps ensure the best results and lasting strength. Always plan ahead for your restoration project.
Can I Restore a Leather Chair Myself?
You can easily restore your leather chair. With some simple DIY methods and leather care, you can make it look new again. Enjoy the fun of a hands-on project.
Start by cleaning the chair. Use a soft cloth and a leather cleaner. This removes dirt and oils. Next, check for scratches or cracks. Use a leather repair kit for those areas. Follow the kit instructions closely for best results.
After repairs, condition the leather. This keeps it soft and prevents future damage. Apply a leather conditioner evenly. Allow it to soak in for a few hours.
Finally, protect your chair. Use a leather protector spray. This adds a layer of defense against spills and stains.
With these steps, your leather chair will look revived. Enjoy your handiwork!
What Tools Do I Need for Leather Restoration?
For leather restoration, gather essential cleaning supplies. Use leather cleaners and lint-free cloths. These help keep your leather clean and fresh. You will also need repair kits for fixing any damage. These kits make it easy to mend tears or scratches. With these tools, your leather can look great for years. Regular care is key. Proper maintenance prevents future issues. Your leather deserves the best treatment!
Is It Worth Restoring an Old Leather Chair?
Restoring an old leather chair can be a smart choice. Consider the costs and the memories attached to it. If the chair means something special to you, it’s worth looking into restoration.
Leather chairs can last a long time. They are often made with high-quality materials. Repairing them can breathe new life into the furniture. Look for scratches or worn spots. Fixing these issues can make your chair look great again.
Restoration costs vary. Sometimes, it’s cheaper than buying new furniture. Get quotes from local shops. Compare prices and services. This will help you decide if it’s a good investment.
Think about the chair’s history. Did it belong to a family member? Does it remind you of special moments? Sentimental value adds to its worth.
In the end, restoring an old leather chair can be rewarding. It can save money and keep memories alive.
How Do I Choose the Right Leather Dye?
Selecting the right leather dye is important. Think about the type of leather you have. Some dyes work better on certain leathers. Alcohol-based dyes can create vibrant colors. Water-based dyes are safer and easier to use.
Look for shades that match your style. The right color can enhance the leather’s natural look. Always test the dye on a small area first. This helps you see how the leather will react. Remember, preparation is key. Clean the leather before dyeing for the best results.
Protect your workspace, too. Use gloves and cover surfaces. With the right dye, your leather will look amazing. Enjoy the process of transforming your leather item!
Conclusion
Your leather chair shines like new! With careful cleaning, smart repairs, and some conditioning, you’ve transformed it. Regular maintenance helps keep it looking fresh. Enjoy your stylish seat! If a spill occurs, act fast. Quick action keeps your chair looking charming!