
How to Fix a Rip in a Leather Chair
This post contains affiliate links. As an Amazon Associate, we earn from qualifying purchases.
To fix a rip in your leather chair, start by assessing the damage and gathering the necessary materials, such as a matching patch and leather glue. Clean the area gently, apply the patch over the rip, and smooth it down. Fill any gaps with flexible filler and sand it down for a seamless finish. Finally, dye the area to match the original color and apply leather conditioner for added shine. For those looking for more detailed instructions and tips, further explanations will follow in the article.
Essential Facts in 30 Seconds
- Assess the rip’s size, location, and leather type for the best repair method.
- Clean the damaged area and collect matching patch materials and leather glue.
- Apply leather glue to the patch and rip, pressing firmly for adhesion.
- Fill the tear with flexible filler and smooth the edges for a seamless look.
- Dye the repaired area to match the original leather color and apply conditioner for a polished finish.
Assessing the Damage and Preparing Tools
Before fixing a rip in your leather chair, assess the damage.
Check how severe the tear is. Is it a small snag or a large gash? Small tears often need simple DIY fixes. Larger ones may require a leather patch for repair.
Next, identify the type of leather. Aniline and semi-aniline leathers need different approaches. Understanding the overall condition of the leather is crucial for determining the best repair method, and knowing how to apply a leather patch can be beneficial for larger rips. Additionally, recognizing the importance of cleaning the area before starting the repair will help ensure a better bond between the adhesive and leather.
Look at where the tear is located. If it’s on a seam, sewing might be necessary.
Gather your tools. A leather repair kit is essential. A utility knife helps cut away damaged edges.
Assess the Damage to determine the extent of the repair needed before you begin.
Sandpaper can smooth rough spots. Using the right materials is key for a good repair.
Now, you’re ready to transform that rip into a memory! Let’s get started!
Cleaning and Preparing the Leather Surface
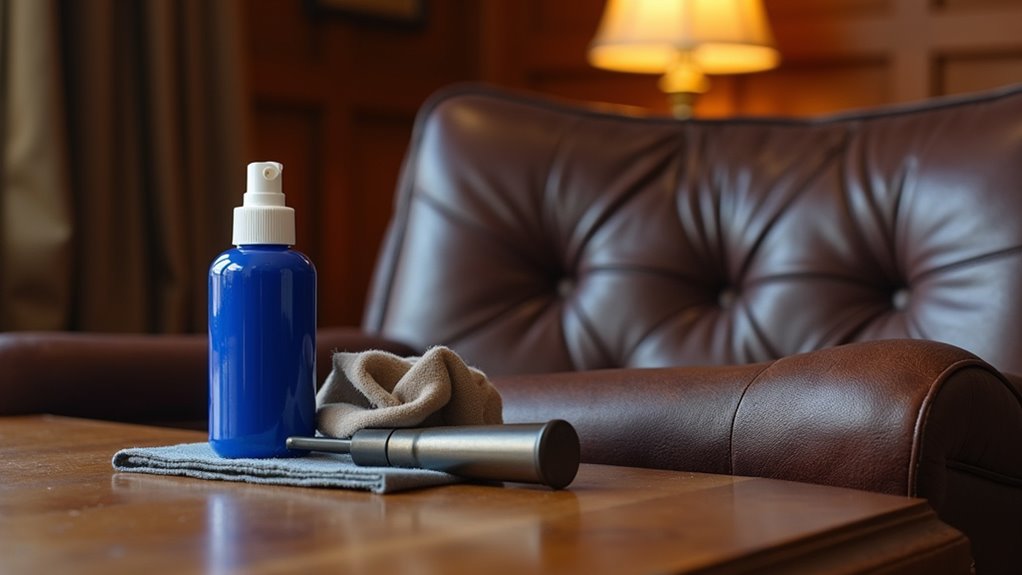
Cleaning your leather chair is important before making any repairs. It plays a big role in how well the repairs turn out. Start by removing loose dirt. Use a vacuum or a soft brush. For cleaning, choose a leather cleaner approved by the manufacturer. You can also mix mild soap with distilled water in a 1:8 ratio. Test your cleaning solution on a hidden spot first. You don’t want any unexpected discoloration! Additionally, understanding the importance of identifying leather type before restoration can significantly impact the cleaning process. Regular maintenance, such as cleaning the leather chair once a month, can help prevent dirt buildup and maintain its appearance. Proper cleaning solutions can also enhance the longevity of your leather chair. Regular cleaning helps prevent scratches that can occur from dirt particles.
Here’s a handy reference table:
| Leather Type | Cleaning Frequency | Recommended Cleaner |
|---|---|---|
| Smooth Leather | Every 3-6 months | pH-neutral soap with water |
| Textured Leather | Every 2-4 months | Manufacturer-approved cleaner |
| Suede | Monthly | Dry cleaning method |
| Faux Leather | Every 1-3 months | Mild soap with water |
| Vintage Leather | Every 6-12 months | Specialized leather conditioner |
To clean, dampen a microfiber cloth. Wipe gently over the surface. Let it air dry completely. Now your leather chair is ready for the next step!
Applying Sub-Patch and Glue
Your leather chair is ready for a makeover. Time to apply a sub-patch and glue!
First, find a patch material. Make sure it’s bigger than the tear and matches your leather. Round the edges to prevent puckering. For curved patches, cut small triangles to help it lay flat. Remember, assessing the damage beforehand will help you choose the right approach for your repair.
Use tweezers to put the patch under the tear. Make sure it fits snugly and covers the whole area. This is important because a flexible repair can be achieved by minimizing filler use. Additionally, cleaning the area before applying the patch will ensure better adhesion and a more effective repair. Before starting, ensure you have gathered necessary supplies to avoid interruptions during the process.
Next, apply a thin layer of leather glue on the tear and the patch edges. Press down firmly with a flat object to hold it in place. Wipe away any extra glue. You don’t want a sticky mess!
Let the glue dry completely. Your chair will look fabulous soon! Keep up the good work!
Filling and Smoothing the Tear
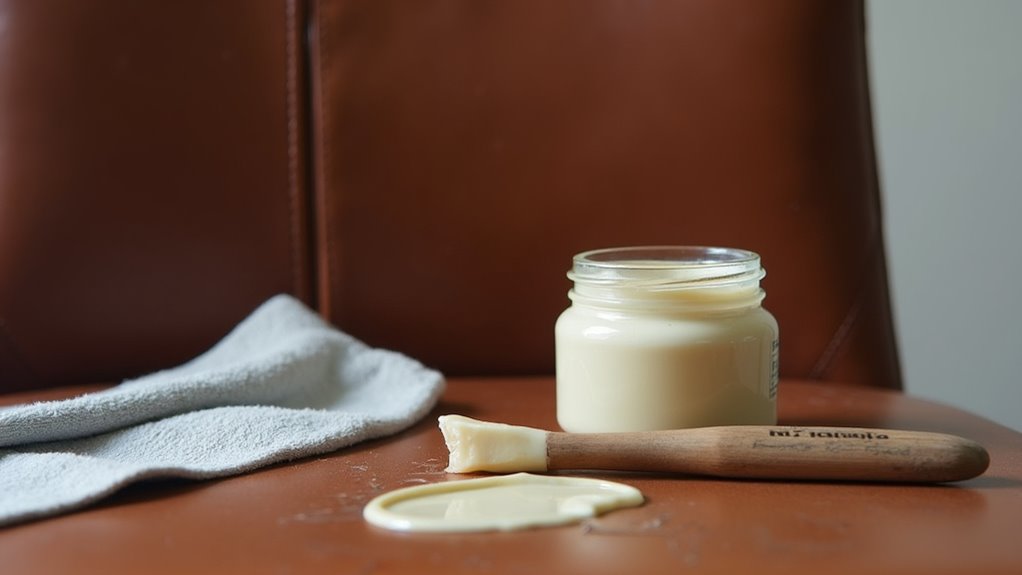
Ready to fix that tear in your leather chair? Filling and smoothing it out is the next step. First, trim any loose edges and clean the area. This makes it easier for the filler to stick. Select a flexible filler type. Apply it in thin layers, letting each layer dry completely. Use a spatula to smooth it out. Feather the edges for a seamless finish. Remember, proper preparation is crucial for a successful repair. Additionally, ensure that the leather is regularly conditioned to maintain its flexibility and prevent future damage. Using a leather repair kit can provide essential tools for effective filling and smoothing.
Here’s a quick table to help you remember the steps:
| Step | Action |
|---|---|
| Trim Edges | Use scissors for cleaner edges. |
| Apply Filler | Thin layers work best. |
| Smooth Surface | Sand lightly for a flush finish. |
After smoothing, clean the area again. You are on your way to a chair that looks like new! Patience is key. Just like waiting for cookies to bake!
Dyeing and Color Matching
Bringing back the lively color of your leather chair after a repair is easier than you think. Start by checking your dye selection. Different types of leather, like aniline and semi-aniline, absorb color in unique ways. Choose the right dye for your leather type.
Before you apply the dye, test it on a hidden spot. This step ensures the color blends well. Look at your chair in both natural and artificial light. This helps you see the true color and any fading. Additionally, evaluating damage to the chair prior to dyeing is crucial for achieving the best results. It’s important to consider prompt attention to accidents, as this can affect the leather’s overall condition.
For protected leather, stripping it first might be necessary. Think of it like peeling an orange. Additionally, be sure to evaluate the chair’s condition before starting the dyeing process to understand the extent of any damage.
Now, you’re ready to dye. Apply the dye in thin layers. Use a sponge for large areas and a brush for details. Each coat will darken the color. Plan your layers carefully. Let each coat dry fully before adding the next one.
Soon, your chair will look as good as new. No more ketchup stains!
Frequently Asked Questions
Can I Use Super Glue for Leather Repairs?
Super glue can fix leather, but it might not be the best choice. Other options exist. Specialized leather repair kits work better. They create a strong bond. These kits match leather’s unique needs. Using them can make repairs last longer. Think about using them for your leather projects.
How Long Does the Repair Process Take?
Repair times depend on the size and type of damage. Small repairs take only a few hours. Larger repairs need more time. Drying can take a day or longer for big fixes. Each situation is different. It’s best to ask for a specific time estimate. This way, you know what to expect.
Are There Professional Repair Services Available?
You can find many professional repair services for your furniture. These experts use high-quality leather restoration techniques. Repair costs are often much lower than buying new furniture. Why spend more money? Repairing keeps your furniture looking great and saves you cash. Many services offer quick turnarounds, so you won’t wait long. Your furniture can look brand new again. Enjoy the benefits of restoring instead of replacing.
Can I Repair a Burn Mark on Leather?
Repairing a burn mark on leather is possible. Start by cleaning the area gently. Use a soft cloth and leather cleaner. This removes dirt and soot.
Next, patch the burn mark. You can use a leather patch that matches your item’s color. Cut it to fit the damaged area. Use strong adhesive to attach the patch carefully.
After that, apply a filler to smooth the surface. Find a leather filler that matches your leather’s texture and color. Follow the instructions on the product for the best results.
Once everything dries, check the area. You can use a leather dye to blend the repair with the rest of the item. This extra step helps make the damage less noticeable.
With patience and care, your leather item can look great again. Enjoy your restored piece!
What Should I Avoid During the Repair Process?
Working on a tear in a leather jacket can be tricky. To succeed, avoid putting too much pressure when applying repair materials. Excessive pressure can make the damage worse. Keep the leather dry. Moisture can harm the leather and ruin your efforts. Take your time and be careful. Treat the jacket gently for the best results.
Conclusion
You’ve fixed that leather chair rip! Great job! Did you know that over 70% of leather furniture repairs can be done at home? No need to worry about accidents anymore. Just gather your tools and get started! With some patience and practice, you’ll become a leather repair expert. Celebrate your success! Enjoy your chair and keep it looking great!